Preserve those delicious apples in just a couple of quick and easy steps.
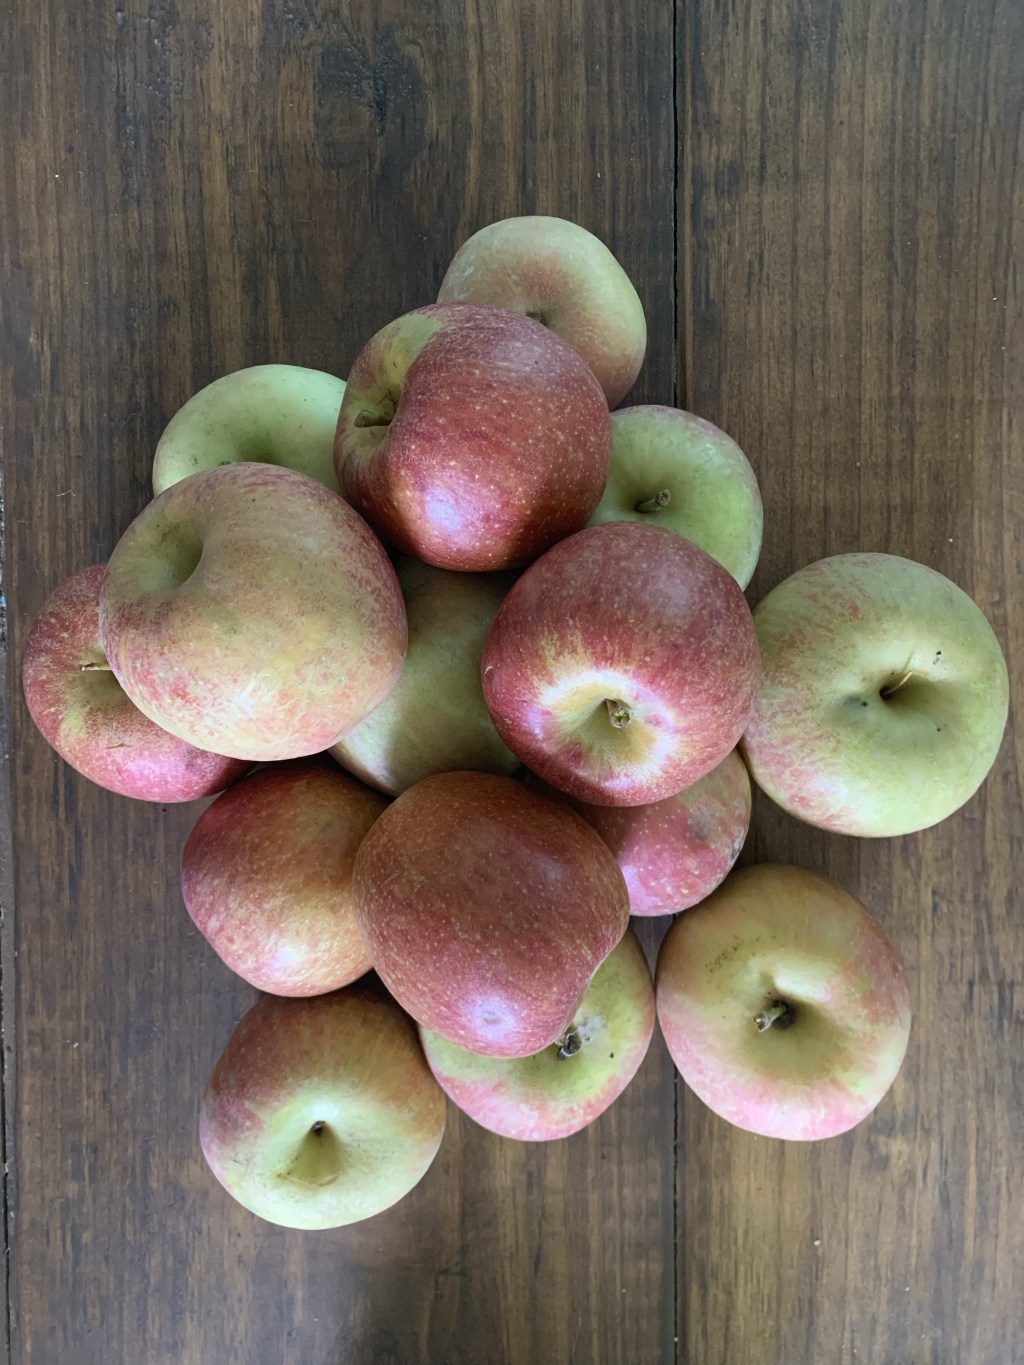
Our crew went apple picking a couple of weeks ago. We have always enjoyed the pick your own places. The produce tastes unlike anything you can get in the store when it is freshly picked. Apples are no different. The experience and process of picking apples has quickly become our favorite, and will definitely be a family tradition in the future.
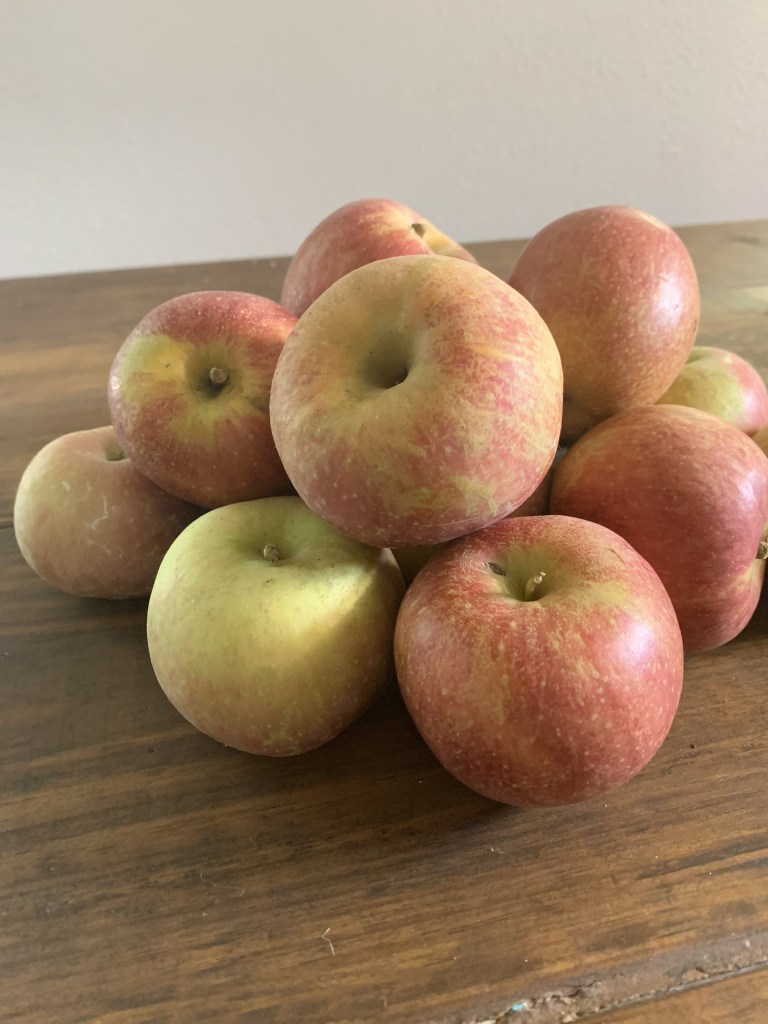
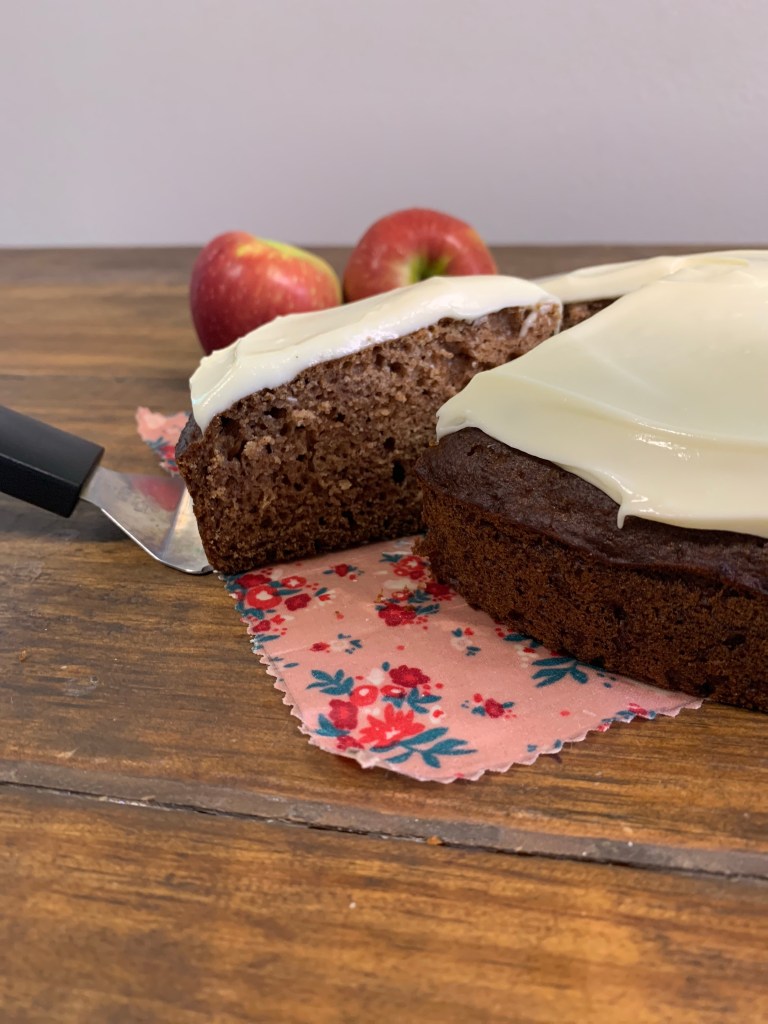
Upon returning home we had four bags of apples waiting to be eaten, baked, and stored. We can eat our fair share of apples around here and we enjoyed making apple recipes like my Spiced Sourdough Apple Cake, apple breads, butters, and apple sauce. Even with all that baking, we were still left with a lovely surplus of apples.
I researched different options to apple preserving last year, and most recipes and instructions led me to use lemon juice. Not wanting to run to the store I searched and asked around for other options. This lead me to instructions on how to preserve our apples with only water and salt. Salt I definitely already had on hand. So I set to work and could not believe how simple and quick the whole apple preserving process was.
Why Use Salt?
- Salt is a great tool to use in food preservation. Salt reduces the water activity in foods. So essentially it is removing the water molecules that bacteria would need to grow on.
- Salt has been used for food preservation for quite a while. If it has been working for generations before, why change it now.
- Salt is an item you most likely already have on hand. No extra special ingredients are needed.
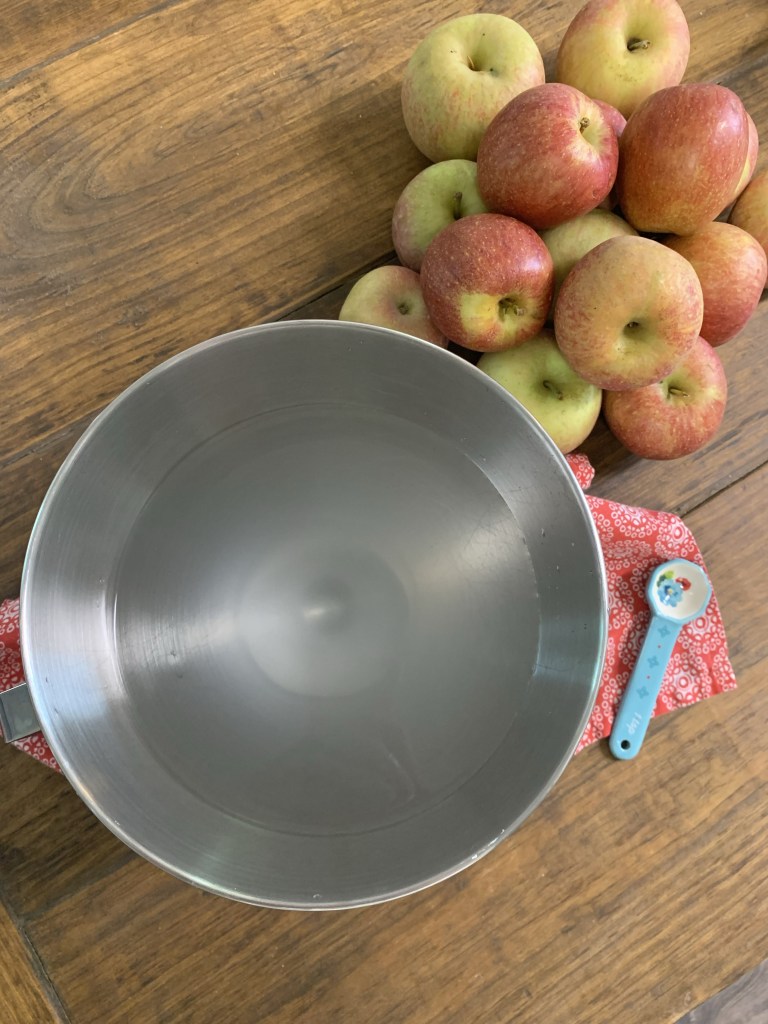
Tools
Disclaimer: I am a participant in the Amazon Services LLC Associates Program, an affiliate advertising program designed for me to earn fees by linking to Amazon.com. As an Amazon Associate, I earn a very small amount from qualifying purchases at no cost to you.
While all these tools are not necessary they can make the process much easier and faster. With four kids and a sourdough starter baby, I need all the shortcuts I can get.
Knife
Mixing Bowl
Freezer bags or Food Saver
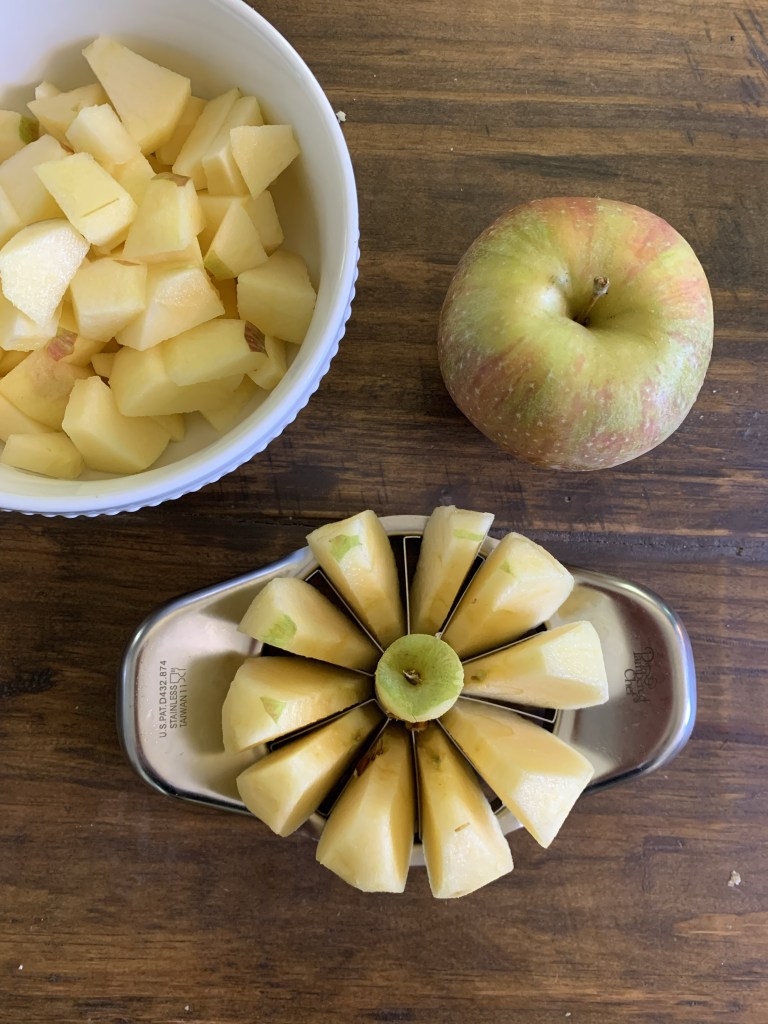
Cutting Apples
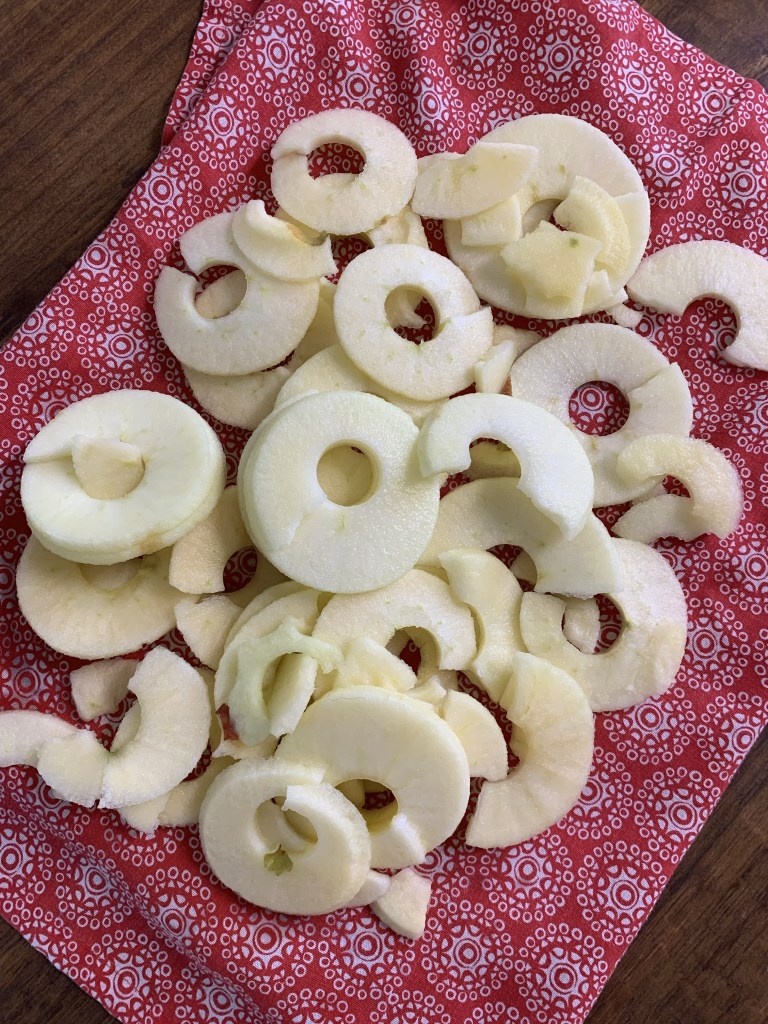
There are two different ways I cut my apples. I planned to use my apples in a variety of ways, so I wanted some sliced thinly and others diced. These are the two methods I used.
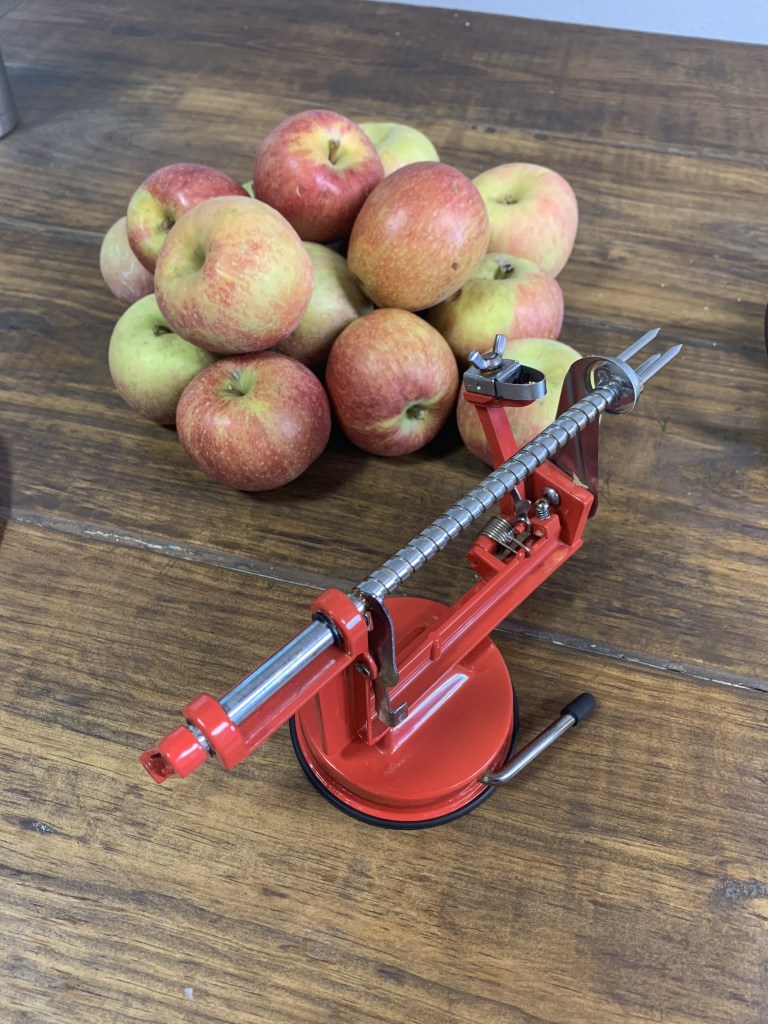
Thinly Sliced
The simplest way I found to get the thinly sliced apples was to use this Apple Peeler Slicer Corer. It made the process so quick and easy. I attached the apple, cranked the handle and the slicer did all the peeling, slicing and coring for me.

You could definitely still achieve this process with a Peeler and thinly slicing by hand with a knife.
Diced
The other method I used was to use the Peeler to remove the skin, and then an Apple Wedge Slicer to slice into wedges and core. Then I diced the remainder according to the size I was after. While this did take moment longer, the whole thing took me less than 10 minutes. Mostly due to the amount of apples I had.
Step-by-Step Instructions
1. Begin by filling up a mixing bowl with 8 cups of water. Add 4 teaspoons of salt. Mix and set to the side. (If you have less apples you can use the following formula: 1/2 tsp per 1 cup of water)
2. Peel, core, slice and dice the apples. Refer to the methods I used above for more detail.
3. Immediately put the apples into the salt water mixture. Allow the apples to soak for 5-10 minutes. I stirred occassionaly to ensure all the apples were able to be fully submerged for some time.

4. Rinse the apples with a Colander.

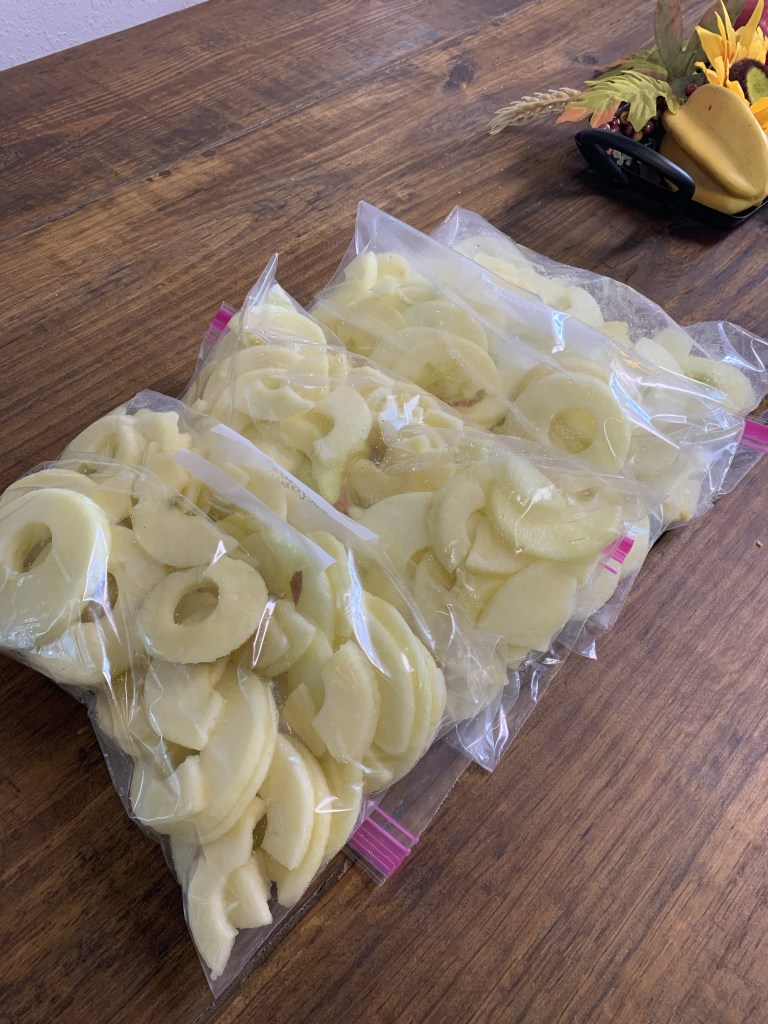
5. Pat apples dry and store in freezer bags. Or use a Food Saver to preserve the apples.
6. Store in the freezer for 6 months up to a year.
That is it! So simple, and no more brown apples.
I hope you enjoy this homemaking apple preserving tip. This truly is the simplest apple preserving method. Leave me a comment if you give it a try or have any questions. You can also follow along with our other baking and homemaking projects on all the socials listed below.
Check out these other tips and recipes you might enjoy!

Leave a comment