
This easy DIY silhouette will be a timeless treasure for those sweet ones in your home.
There is something so sweet about children when looking at their profiles. I’ve always loved the silhouettes I’ve seen in the past. I don’t know if it is the classic or timeless look or those sweet noses and lips from the side that gets me. I have walked past stations and booths that offer the service of creating a silhouette for you. The price holds me back every time. Not to mention I’d have to multiply it by four.
At Christmas, I set out to give handmade gifts to my friends and family. These silhouettes were on my list for some family members. Time got away from me, as it often does, and I was unable to add it to my handmade gift bags. I let it go until I discovered an older frame collecting dust in my boys’ closet. I decided, with the slower late winter and early spring rhythm we had going, I’d finally have time to fit it in. I’m so glad I did. These were so simple and updating the picture frame took more effort than creating the silhouettes. Unless you count the time it took to get my toddlers to look straight for more than 2 seconds. They only stop for food and milk around here.
While a professional could probably get more detail and accuracy, I’m pleased with the outcome after my low effort. Now that I have their templates, I might finally be able to get around to those family member gifts.
These are the tools and steps I used and followed. There may be alternate ways to get the job done, but this was the easiest and fastest for me. I’d love to see your sweet profiles if you try them. Also, let me know if you did anything differently.
Tools:
- camera (used my phone)
- email access
- computer
- white paper
- pencil
- black paper (could be any color, as thick or thin as you want)
- scissors
Step-by-Step Instructions:
- 1. Using your phone, take a profile photo of your child against a blank wall. Consider trying different hairstyles with girls to see which suits them best. (down, low ponytail, high ponytail, bun). Three of my children wear glasses, but I liked the outcome better when they removed them

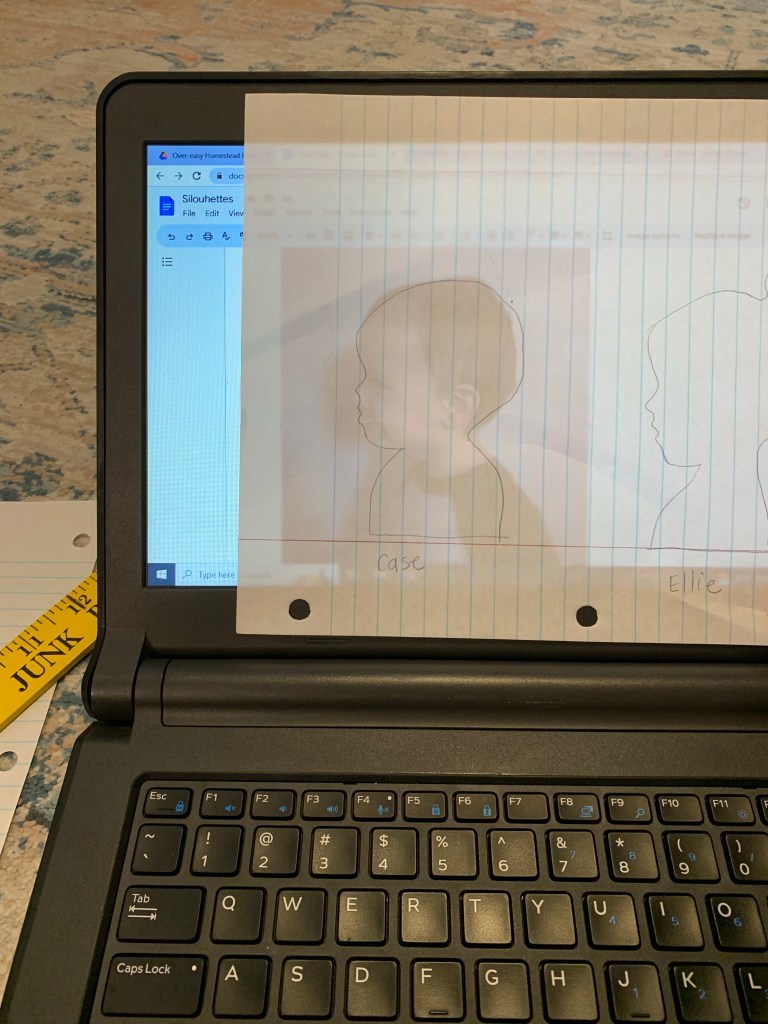
- 2. Email the photos to yourself. Once emailed you can download and save the photos. Using a Word-type program (I used Google Docs), insert the photos one at a time.
- 3. Check with your frame on the sizing you will need. I decided that I needed each profile to be about 4 inches tall. You can use a ruler to size the photo based on what you need. Lay a piece of more transparent white paper on top of the screen and gently trace. Also, don’t tell your tech savy husband that you touched the screen.
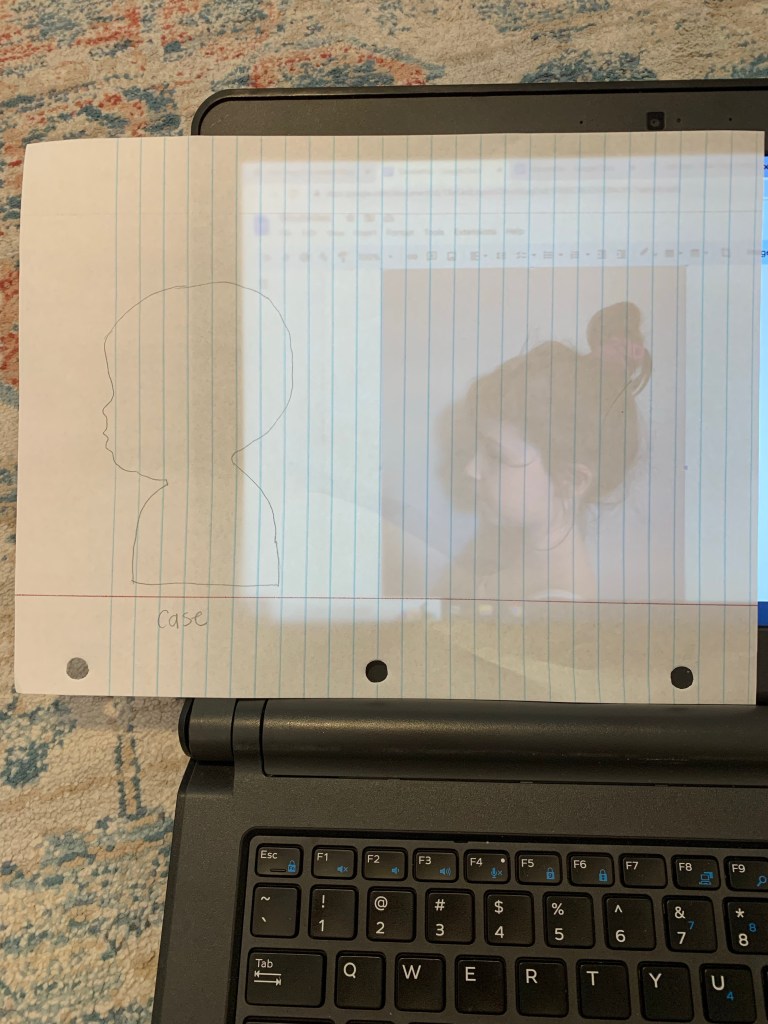
Since I was doing multiple silhouettes I used one child as my standard for head size and then measured the height of the other children to be sure.
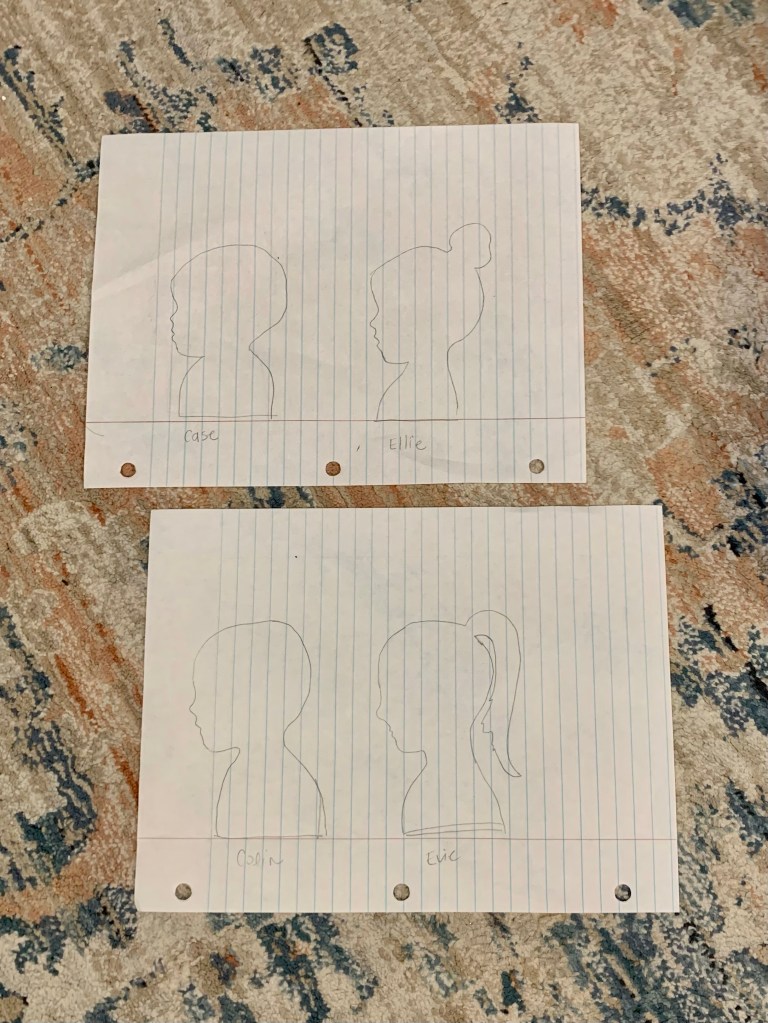
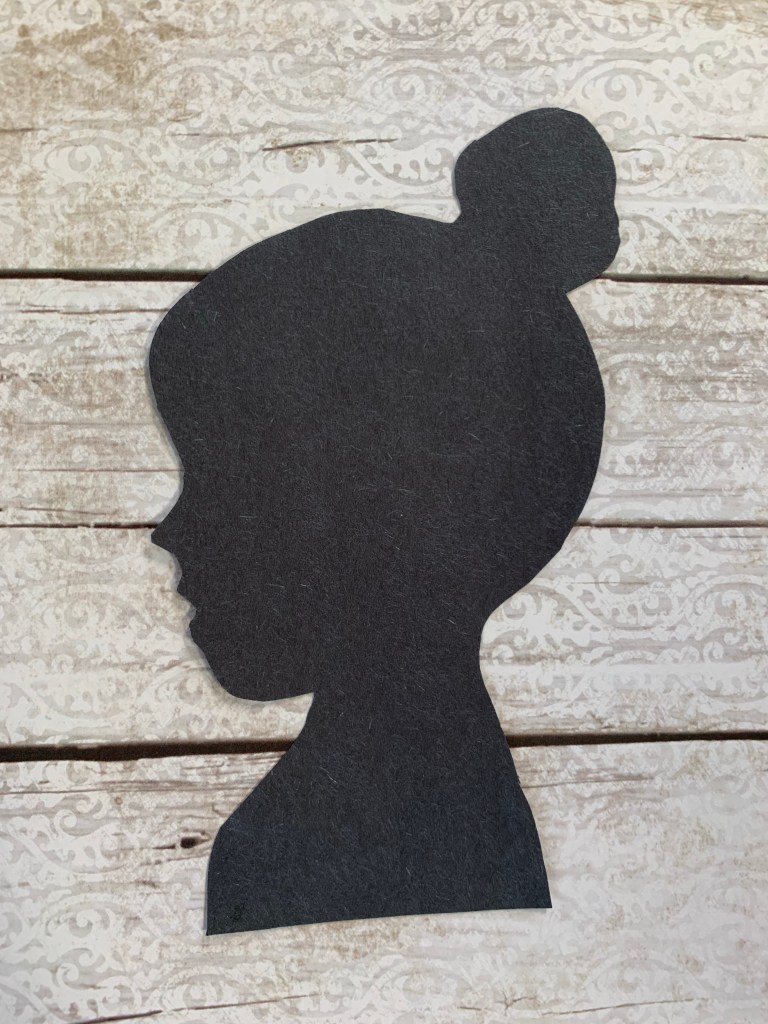
This is what it looked like when I was finished tracing.
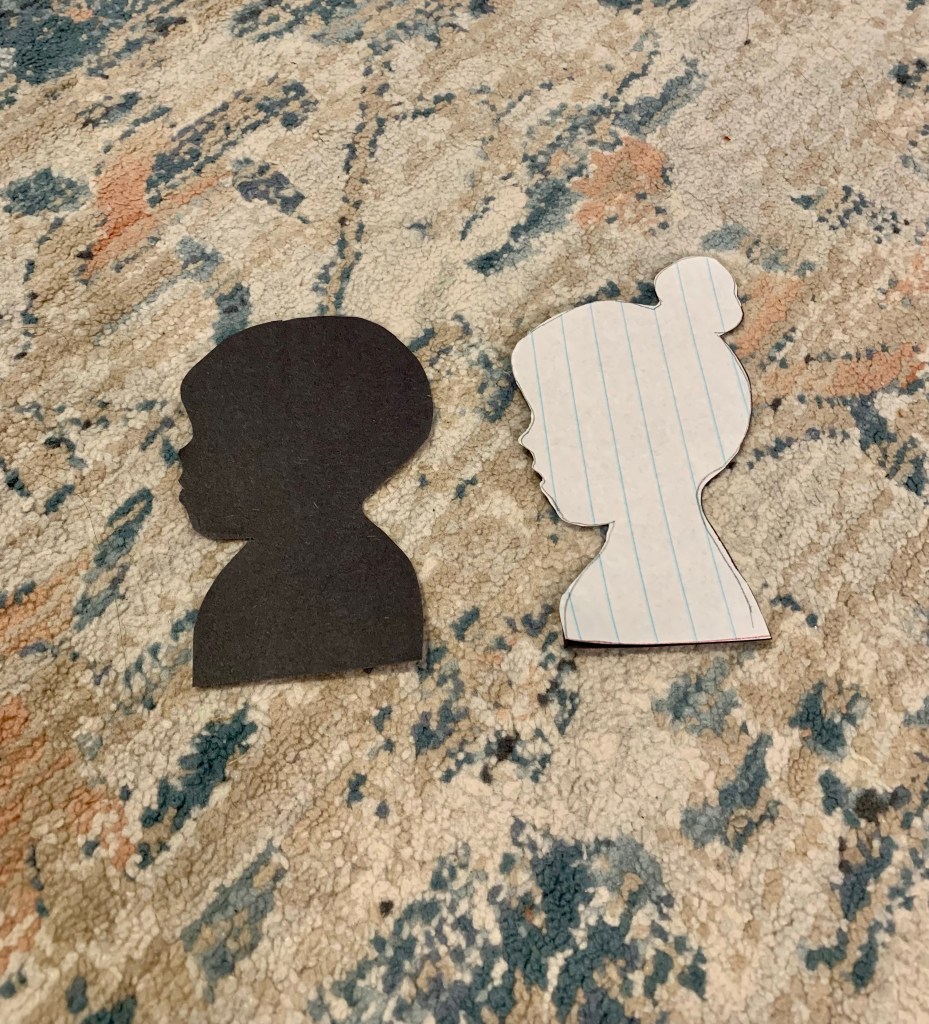
- 4. Next, tape the white paper to the final black paper, or whatever color you plan on using. This will help to keep the papers from slipping on you while cutting.

- 5. Now it’s time to cut. It can be tricky to get around those smaller features, but with persistence and patience, we can get through it!
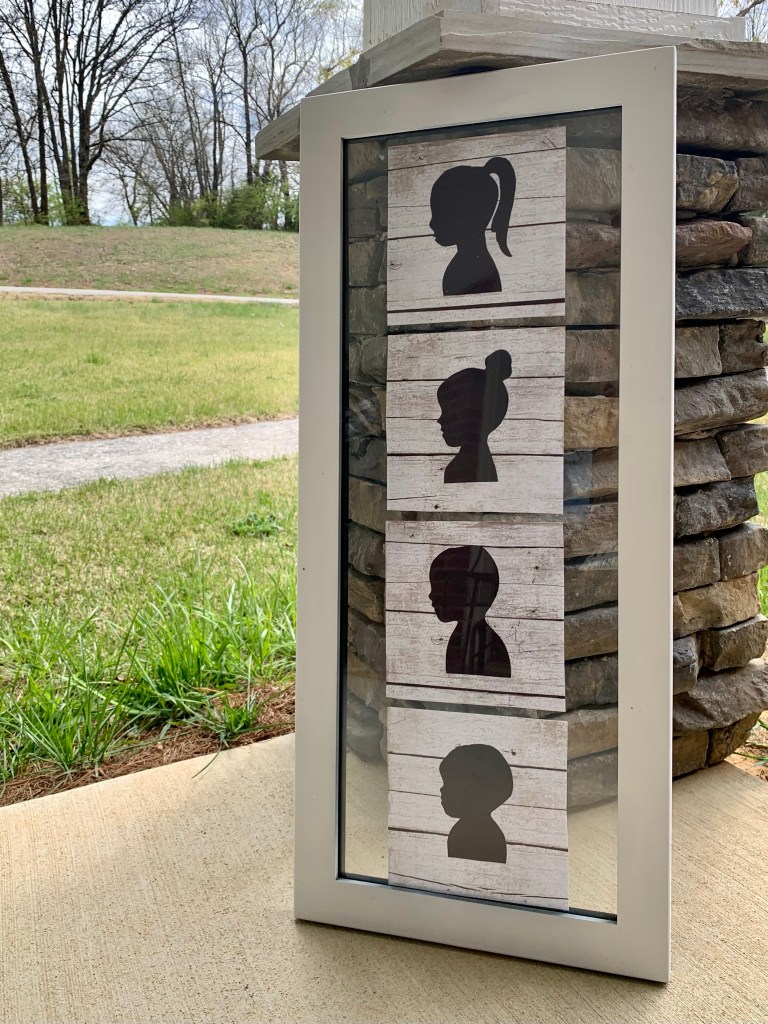
- 6. Now you can frame and hang them up to display your creative work.
I used old scrapbook paper I had laying around as a backing. Since I had spray painted my frame white, I didn’t want more white in the frame, so I went with this white-washed wood pattern. I might end up changing to a more subtle green, but I have no patience for incomplete projects and had to get it on the wall immediately. Have to check off those boxes on the list.
You know it’s all a little bit runny around here; the house, kids, baking, and crafts. While these are not very professional or perfect in any way, I’m so excited to have these sweet profiles hanging on the wall. They get big so quickly and just looking at the difference between the seven and one-year-old makes me thankful I finally found space in my plans to get it done.
Please snap a picture of yours and tag me on Instagram. I’d love to see your creations! You can find me @overeasyhomestead . Happy crafting!

Leave a reply to Milk Jug Seed Starting – Over Easy Homestead Cancel reply