
This DIY throw blanket tutorial was so fast and easy I had it finished in less than an hour.
We are nearing the end of winter here. Trees are starting to bud, grass is returning to that familiar green color, and everything seems to be more active. That being said we still have the up and down, warm to cold, shock you with the freezing temperatures here in East TN. Many days most of my children can be found snuggled under a blanket somewhere in our house. Each one has their favorite, but they mostly have loud patterns and are bulky. I’ve been wanting to update our living room blankets and thought surely I could make one on my own. I never can seem to find what I have in mind, with the price I am searching for. So, I grabbed some of my “extra” fabric and went to work.
I have a bad habit of roaming the aisles at our local store, rummaging through the excess fabric bundles. I found two yards of a sweater feeling white fabric for only $4.00. I paired it with the fabric I had recently gotten to change up my shower curtain. I can’t wait to share that with you later!
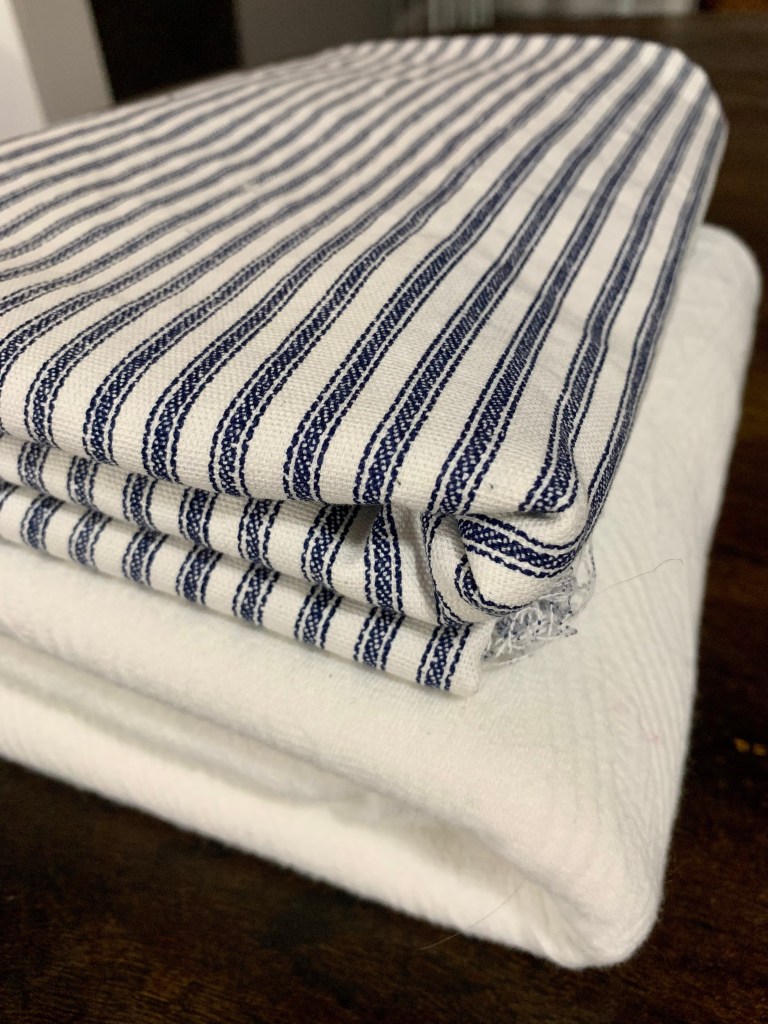
I found a duck cloth fabric from Hobby Lobby marked down and had just enough left to experiment with my blanket adventure. This fabric is not the softest or coziest texture, but I knew it would be light enough for the spring weather we are anticipating. If you’re anything like me you’ll always sit down with a blanket, middle of summer or winter.
Tools:
I am definitely not a professional by any means. Nor do my projects come out perfect, but I think there is so much joy to be found in trying something new. These are some of the items and tools I used to make this easy throw blanket.
- 2-3 yards of two different kinds of fabric. Depending on the size you are going for.
- thread to match your project
- rotary cutter or scissors
- tape measure
- pins or sewing clips
- sewing machine
Directions:
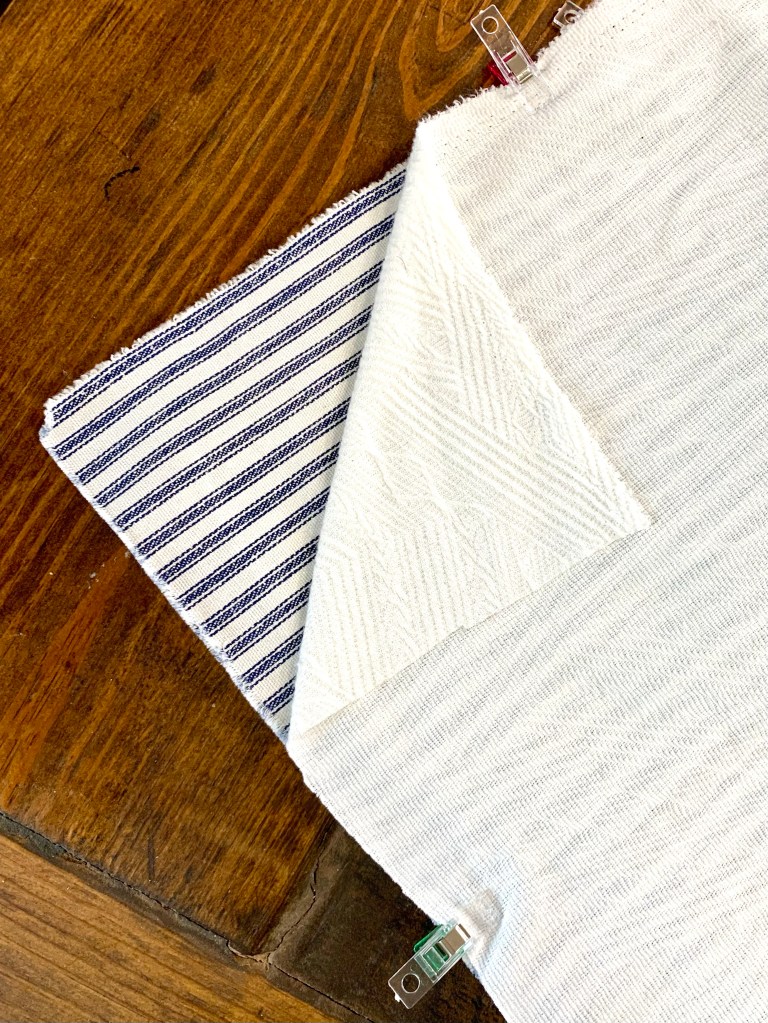
- 1. Match together your two pieces of fabric together. Make sure you have the wrong sides facing out. Then pin along the edges leaving room for the seam.
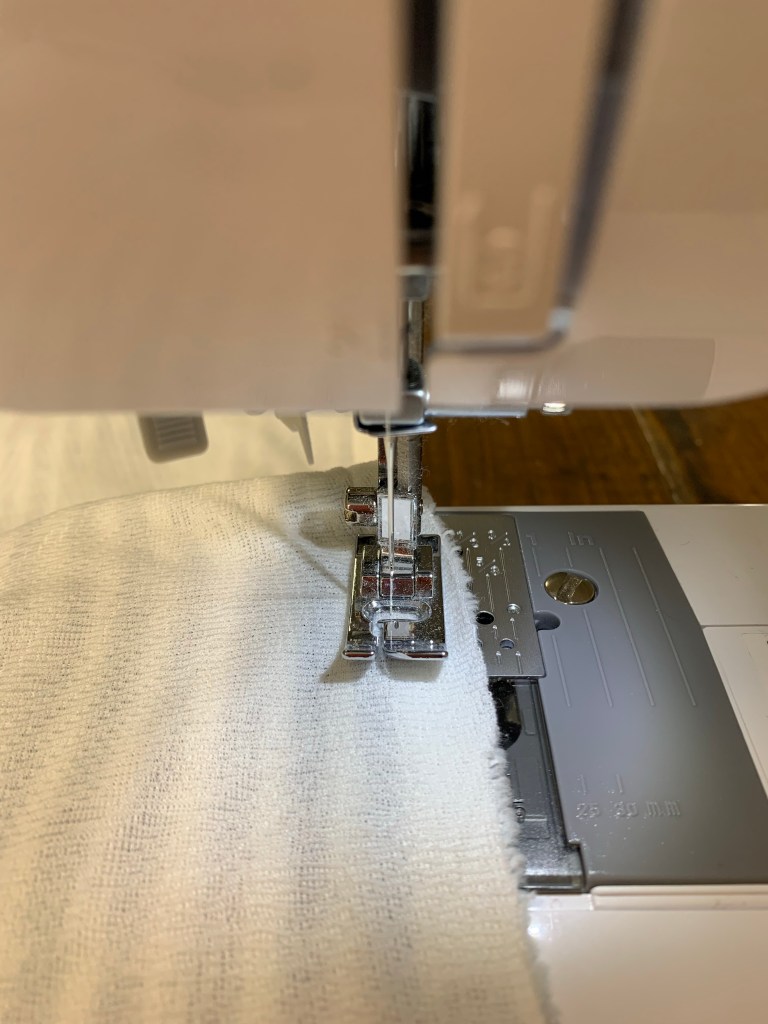
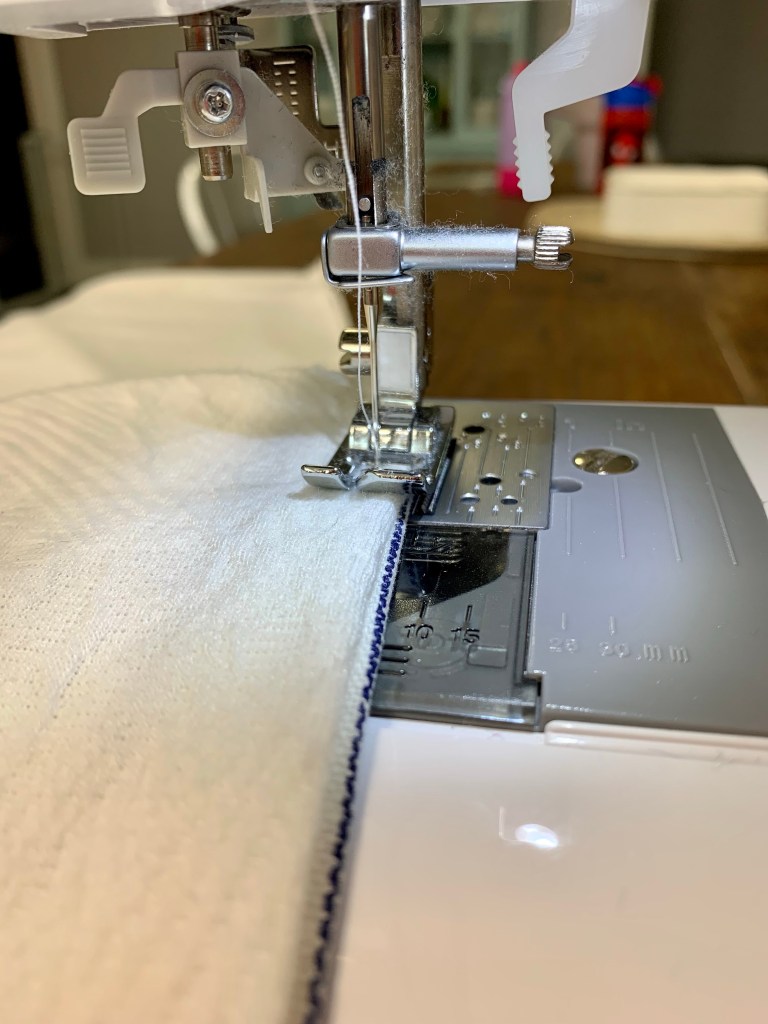
- 2. Sew a seam almost all the way around the fabric. I left about one half of the final side open so that I could turn the blanket right side out. I also used a ½ inch seam and cut the extra off before I turned it inside out. This helped the seams to not be so bulky when flipped.
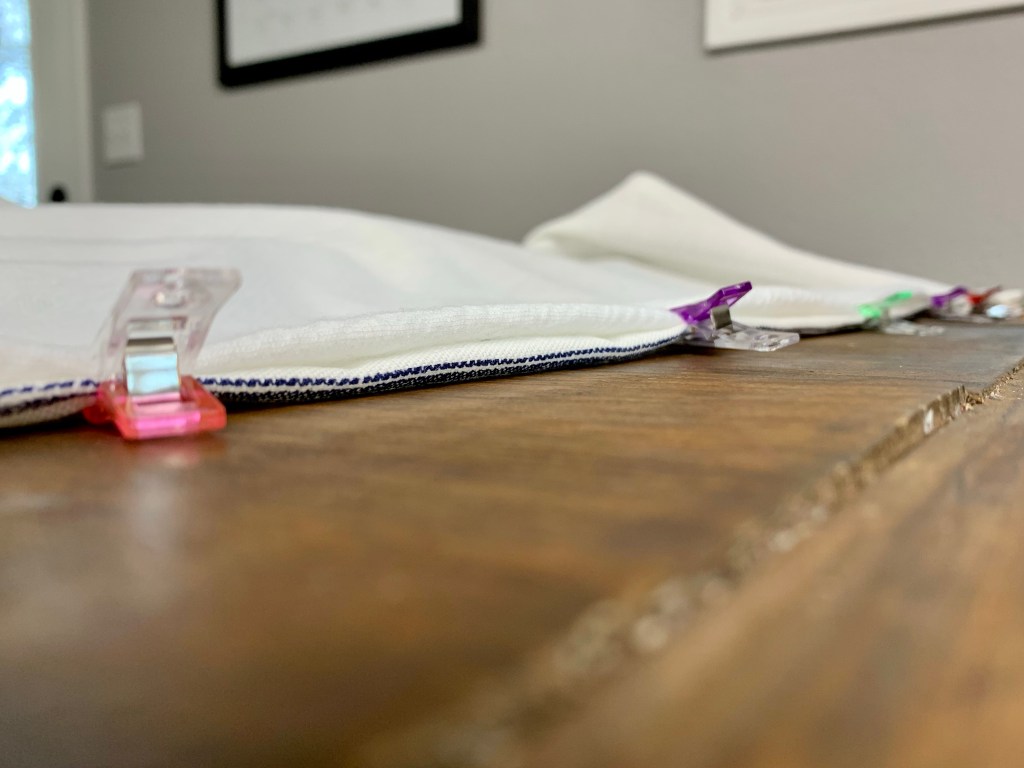
- 3. Turn the fabric right side out. Before sewing the final ½ that is left open, make sure to fold in or hem the pieces of fabric and pin in place. Sew a straight stitch on this part.
- 4. Now it is time to add the top stitch to the rest of the blanket. This helps to hold everything in place and allow for a nice and clean finish. It should blend in together with the part in step 3
Friends, that’s it! I can’t believe my experiment worked! Next time I’m thinking I might sew a final top stitch about 2-3 inches into the fabric with a darker thread to add some extra detail. For now though, I’m loving how easy it is without this final step.
We now have a new blanket to cozy up under. I’m thinking I might hold onto this easy throw blanket and use it for gifts for friends or even Mother’s Day. Maybe adding a little personalization for those grandmothers. You know how a handprint or those grandbabies just melt their hearts. It’s never too early to start planning, right?

I’d love to hear from you if you’ve given this a try. Please share in the comments below. Happy cuddling and sewing!

Leave a comment