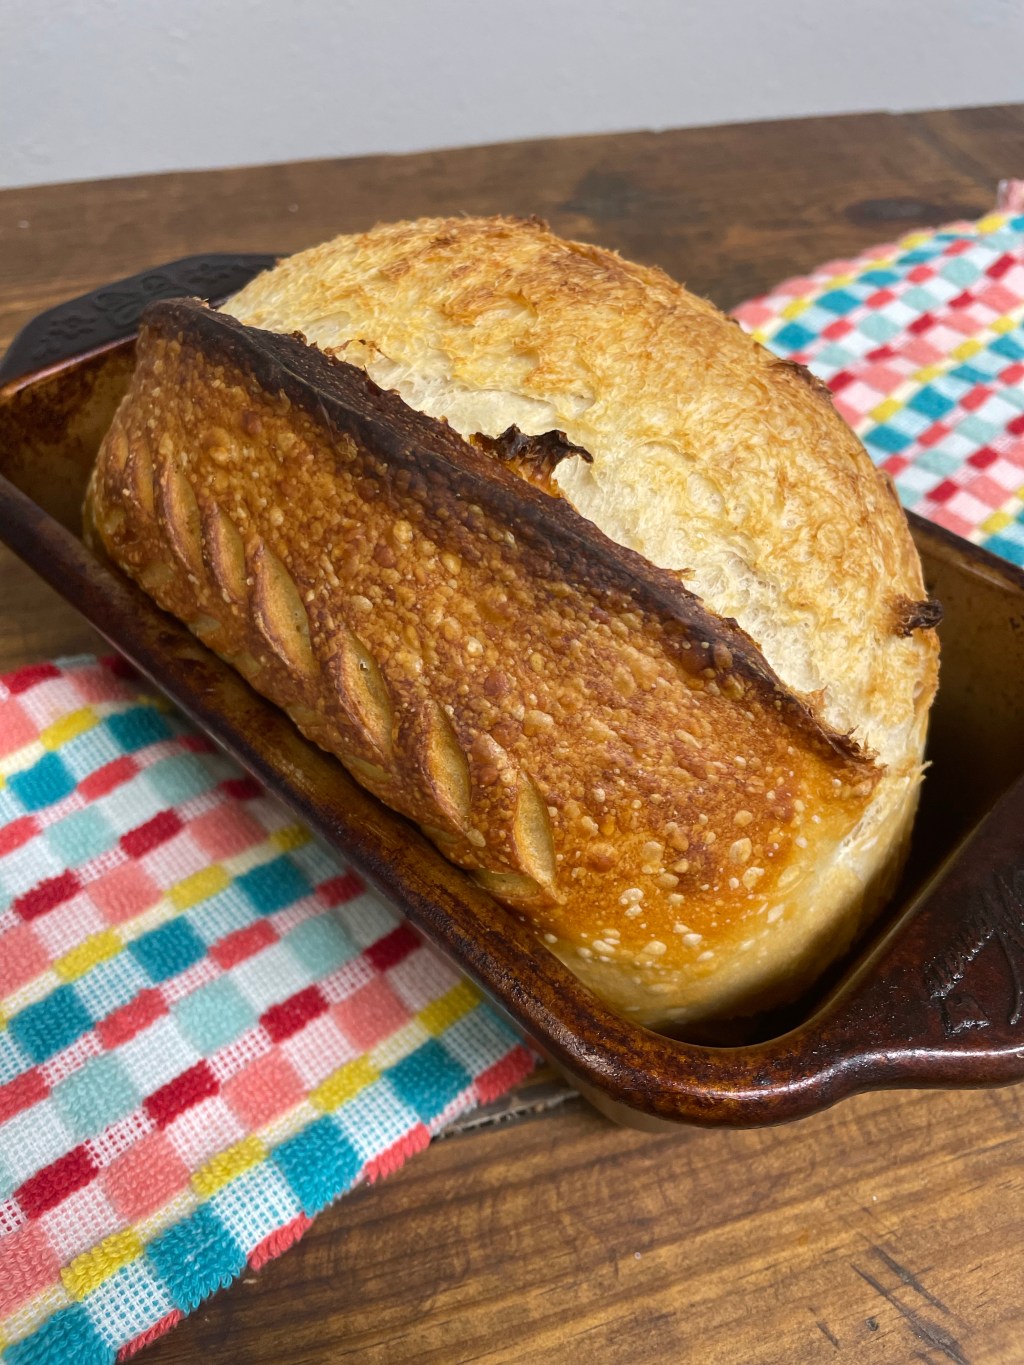
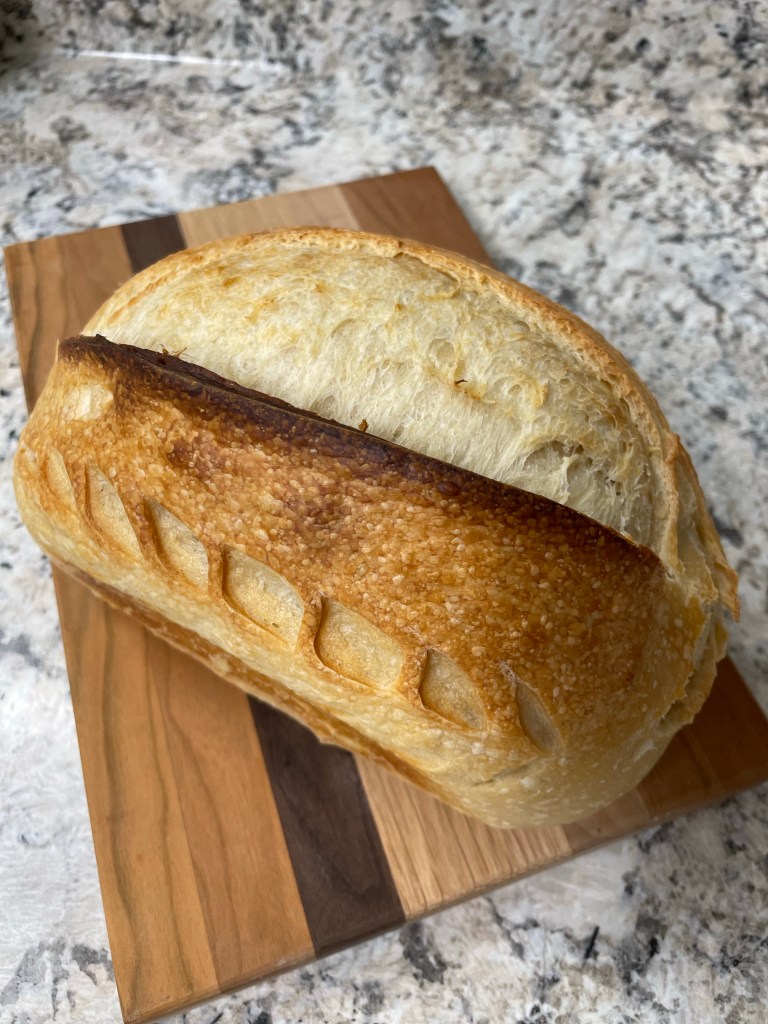
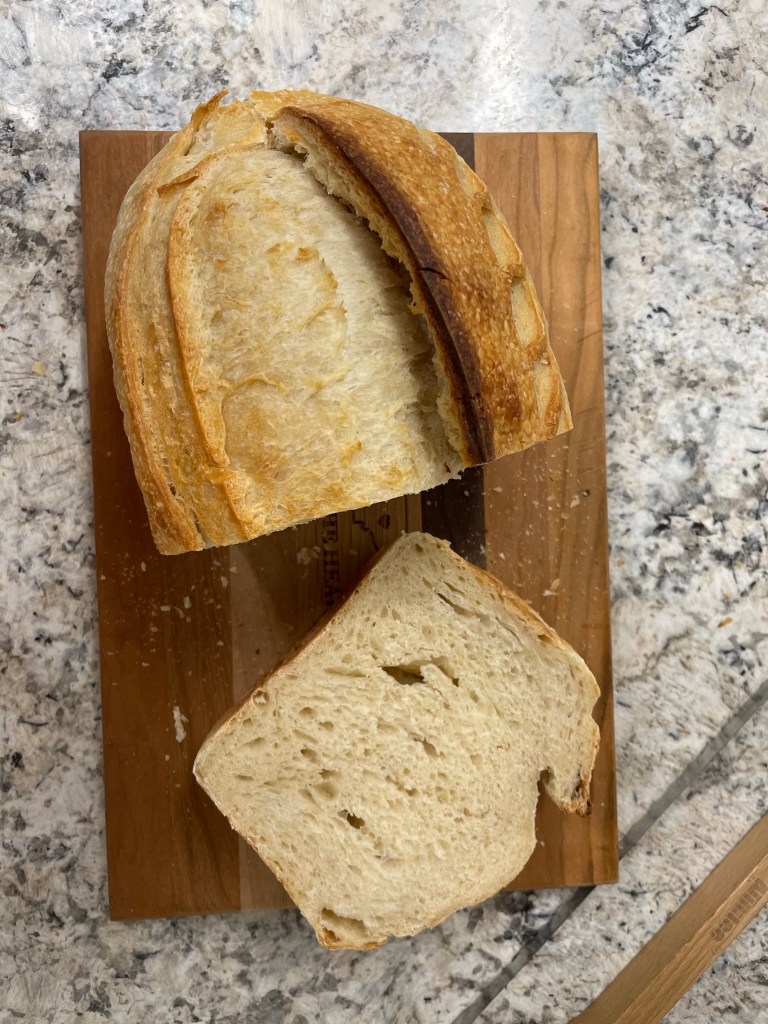
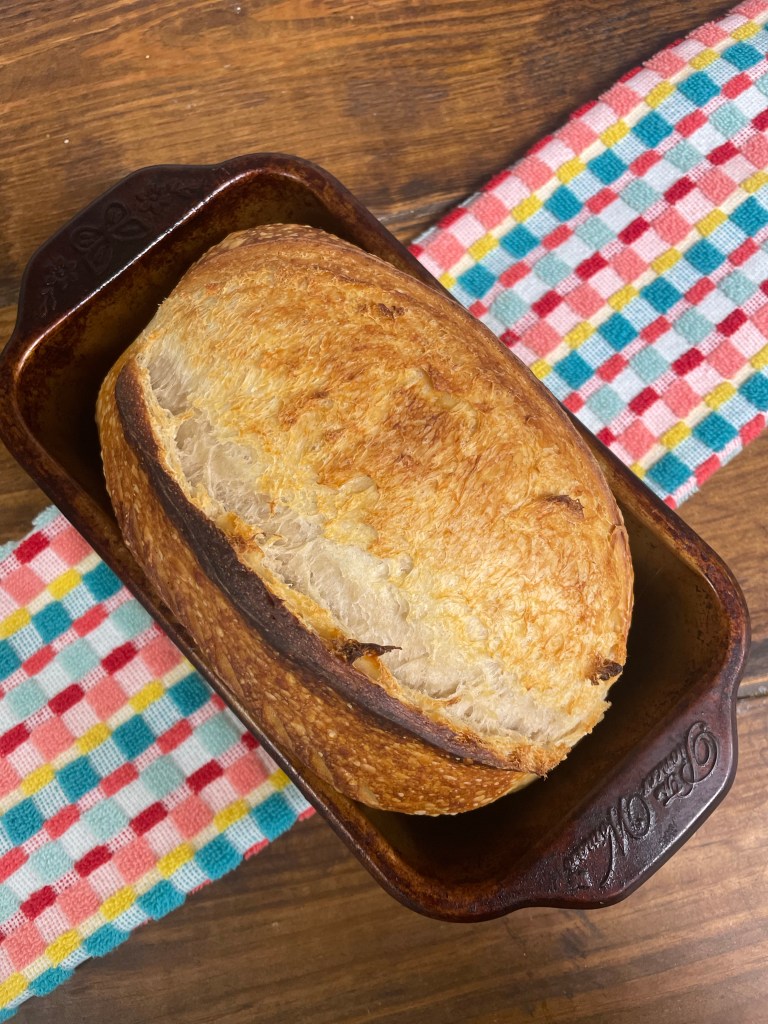
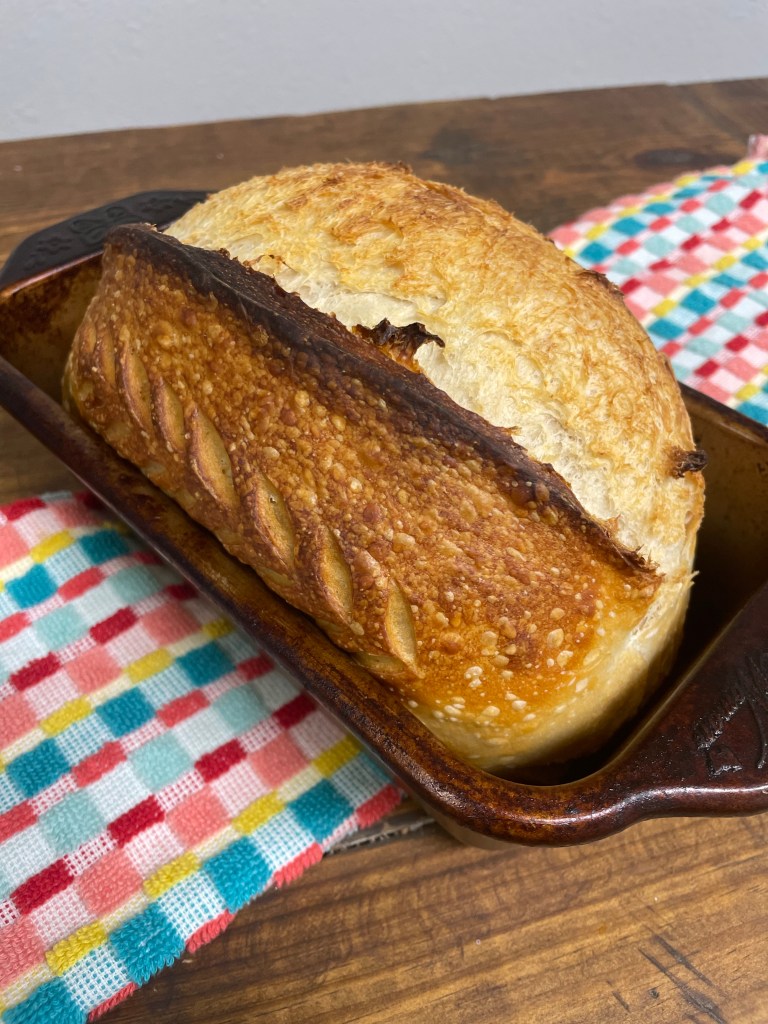
Traditional sourdough crusty bread you know and love, open-baked in a sandwich style loaf that is simpler to slice.
If cutting a round sourdough loaf feels intimidating, this recipe is for you. It’s also great if you want a sandwich-style shape like store-bought loaves. No dutch oven? No problem! This loaf is one of the easiest to bake openly.
I use my traditional sourdough loaf recipe, so it still has that same great flavor and chewy exterior. All the while using those same simple three ingredients; flour, water and salt.
For more details and the benefits of sourdough and making or maintaining a sourdough starter, see the posts listed below.
What is open-baking?
Simply put, open-baking means baking bread without a lid. Traditional methods use a Dutch Oven for steam to help the bread rise. My approach lets you skip buying one and use what you already have. My goal is to make bread baking easy.
Tools
Disclaimer: I am a participant in the Amazon Services LLC Associates Program, an affiliate advertising program designed for me to earn fees by linking to Amazon.com. As an Amazon Associate, I earn a minimal amount from qualifying purchases at no cost to you.
Large bowl
Kitchen scale
Banneton bowl (optional)
cast iron skillet
tea kettle (optional)
bread pan
Step-by-Step Instructions
Making the Dough
Feed your sourdough starter 4-12 hours before beginning. Make sure it is active and bubbly as well.
Combine flour and water with your hands and rest for 30 minutes to an hour. This process is called autolysing and is when the water hydrates the flour.
Add the sourdough starter and salt on top and start to dimple and work in with your hands. Mix the dough for 5 minutes by hand.
Stretch and Fold
This step will allow you to develop the gluten and help the dough to rise nicely.
Grab the edge of one side of the dough while it is still in the bowl. Gently pull up and fold across to the opposite side. Turn the bowl a quarter and repeat. Then two more times until you have moved around the bowl. This is one round of stretch and folds. You can wet the tips of your fingers with water if the dough is too sticky.
You will now do 3 more rounds of stretches and folds, each about 30 minutes apart.
When finished with 4 rounds of stretch and folds, cover with plastic wrap or a wet tea towel. Allow the dough to bulk ferment until it has doubled. The timing of this vary depending on the temperature of your kitchen, starter maturity, or even hydration. I allow mine to sit overnight or most day. Anywhere from 8-12 hours.
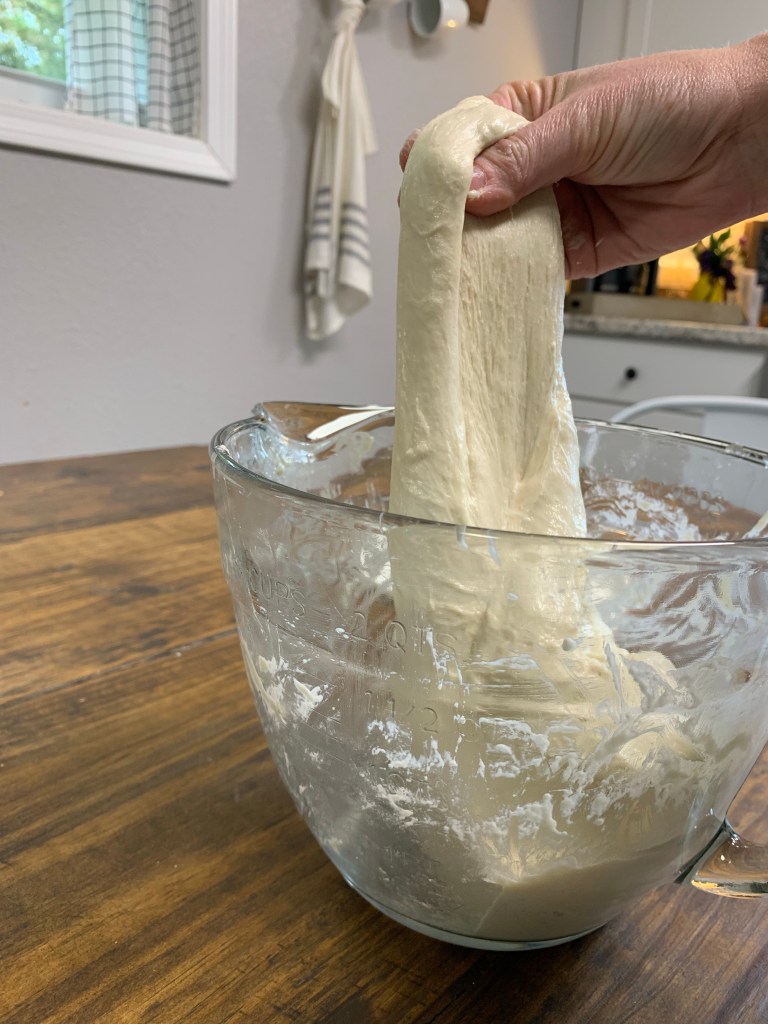
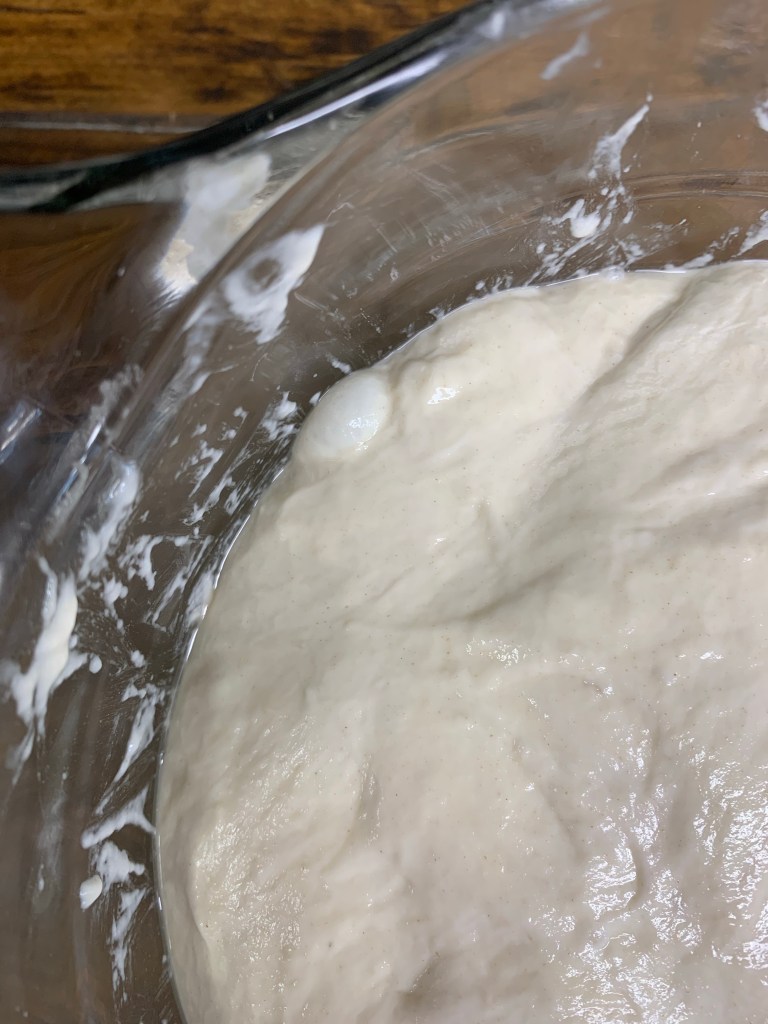
When it is finished you should see more bubbles all over the top of the dough. The dough should also be pulling away from the sides of your bowl and not feel sticky to the touch.
Shape and Ferment
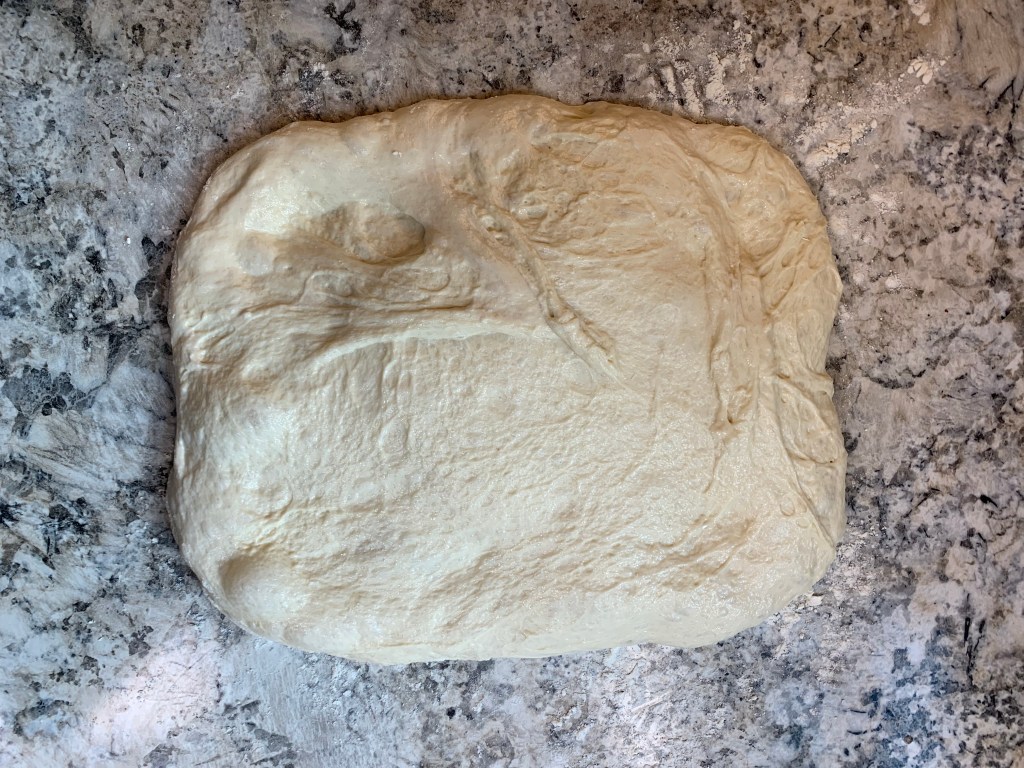
Remove the dough from the bowl and start to shape it on a lightly floured surface.
Start by gently stretching the dough into a rough rectangle shape. Careful not to press on any of those precious bubbles.
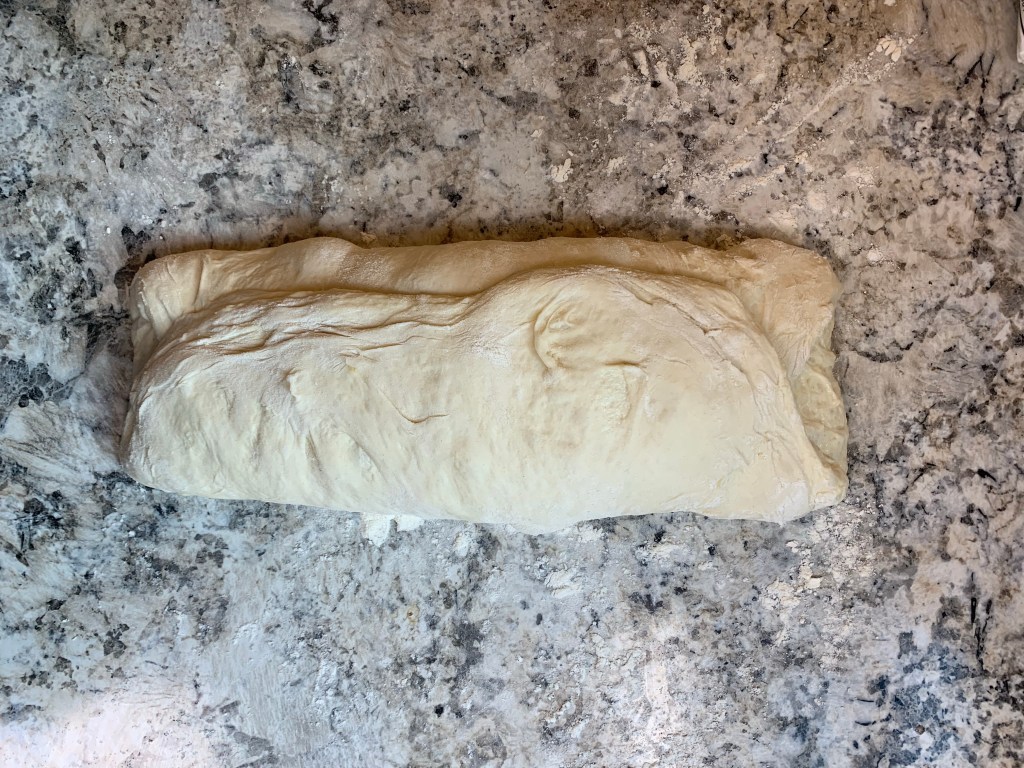
Fold one side over to the middle, and then the opposite side to overlap. Start at the end of the dough closest to you. Roll ahead like you would roll up a cinnamon roll.
Then pinch together the sides so that there are no seams.


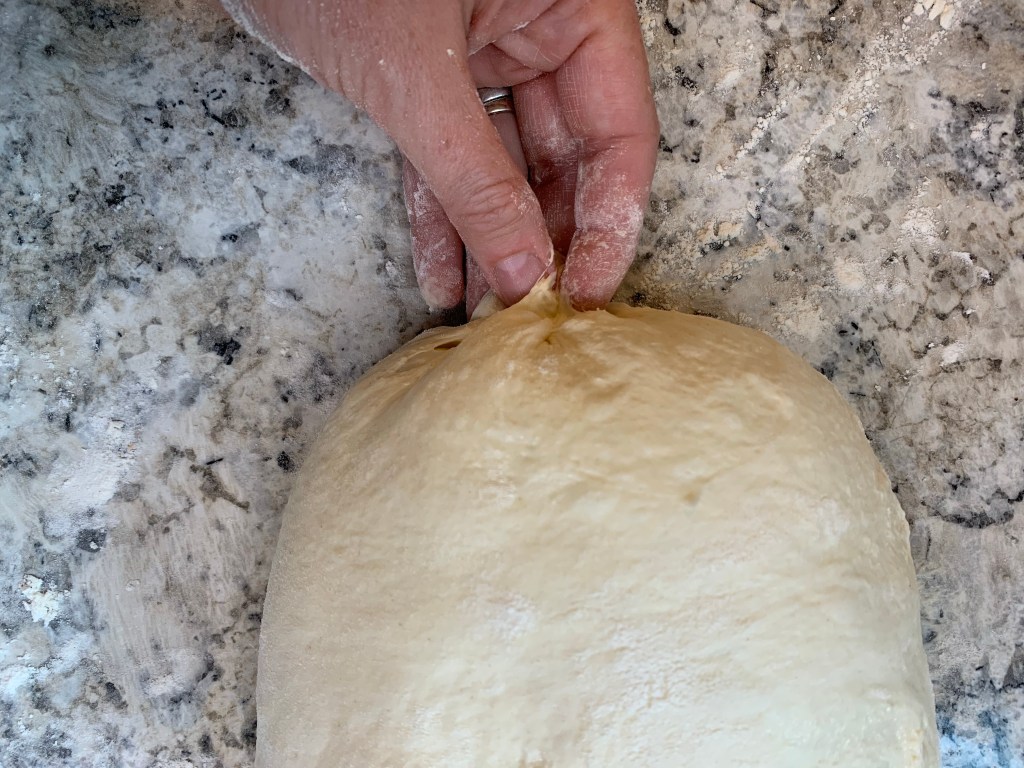
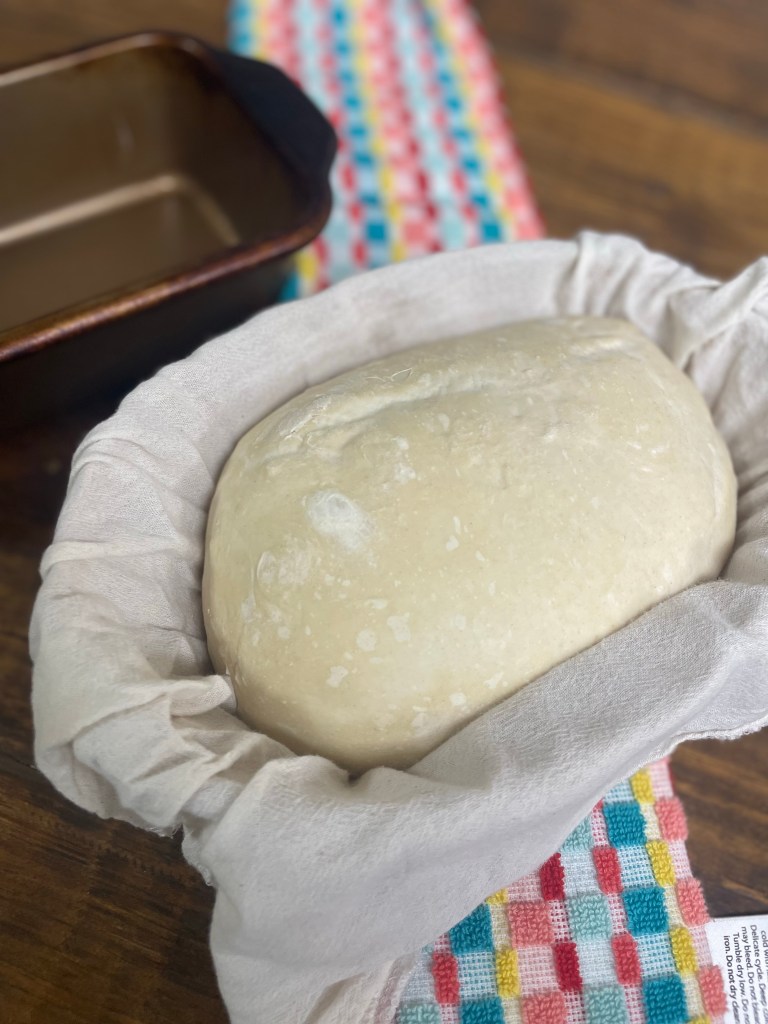
Place the dough in a floured banneton, or lined basket bowl top side down. Cover with a wet tea towel, and place in a grocery bag. Allow to cold-proof in the refrigerator for 2 or up to 24 hours. I like to have mine in the fridge overnight and bake the next day.
Bake
Preheat oven to 435 degrees with cast iron skillet on the bottom rack.
Once the oven is preheated, boil water in tea kettle, or on the stove.
Transfer your dough into a greased bread pan. Score the top of the dough with a scoring razor to allow the dough to expand.

Place the bread pan on a rack in the middle of the oven. Carefully pour the boiling water into the cast iron skillet. Watch out the steam is very hot!
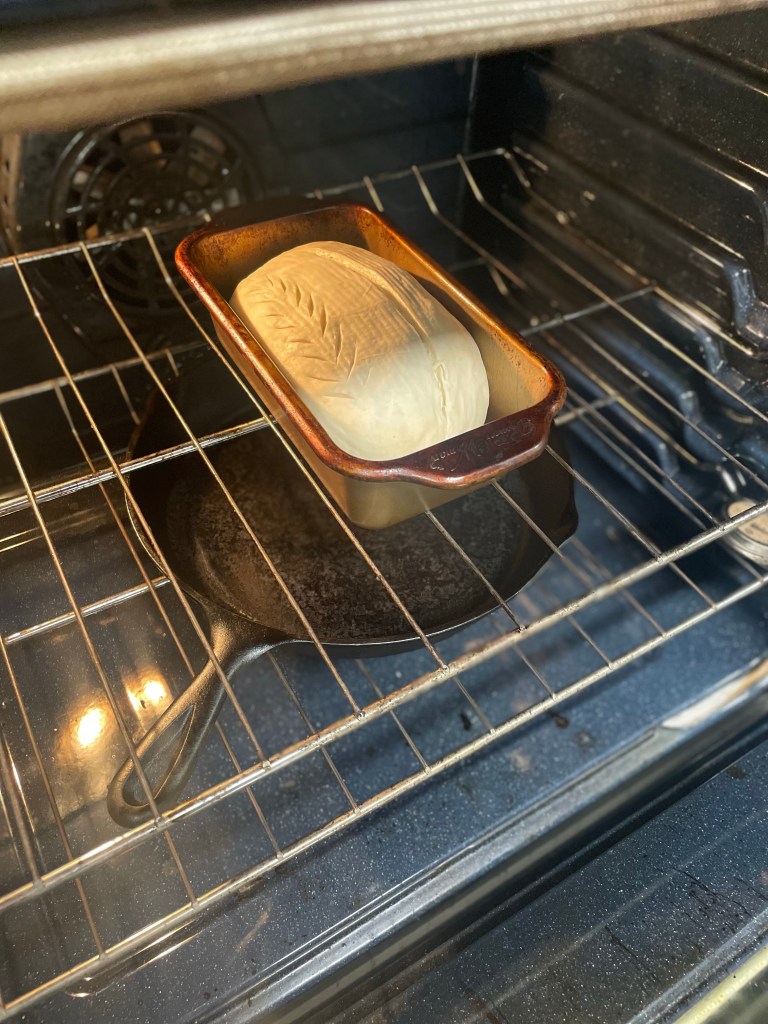
Bake at 435 for 5 minutes, then rescore your mark to allow for more expansion. Bake for an extra 15 minutes.

Remove the cast iron skillet with water, and bake the bread at 450 for the remaining 20 minutes.

Remove from the oven and pan. Then allow bread to cool fully before slicing.
Bakers Schedule
8:00 am: Feed sourdough starter (allow 8-12 hours for starter to be ready),
4:00 pm: Mix dough to autolyse
5:00 pm: Add starter and salt, rest for 30 minutes
5:30-7:30 pm: Do 4 sets of stretches and folds every 30 minutes. Cover and allow to bulk ferment overnight
8:00 am: Carry out final pre-shape. Put in banneton or bowl. Cover with a wet tea towel or beeswax wrap. Refrigerate for 2-24 hours or more.
4:00 pm: Preheat oven, score, and bake. Allow to cool, and enjoy!
While this is just a sample schedule you can adjust the time to suit your schedule better. You will need to take into consideration the temperature of your kitchen, which can vary the proofing/rising times. My kitchen is normally 70 degrees and my starter is ready sooner than the average time. In very warm environments your starter could be ready to use in as little as 4-6 hours.
Tips
- You will need an active and bubbly starter to have success getting your bread to rise. For sourdough starter instructions see my post here.
- A damp tea towel, beeswax wrap, and plastic wrap can all be used to cover the dough. This will prevent a hard layer from forming on the top of your dough.
- Dusting the top of your dough with rice flour can help with scoring visibility.
- Dust your banneton bowls with rice flour to prevent the dough from sticking to the bowl.
- Using a scale can be beneficial to guarantee precise measurements. Measuring with a scale and in grams changed the bread-baking game for me. Better accuracy, and we said goodbye to all that sad dense bread.
Recipe
Cook Time: 40 mins. Fermentation Time: 8-12 hrs. Total Time: 12-13 hours
Servings: 1 loaf Author: Elizabeth Loveday
Ingredients
- 350 g water
- 100 g sourdough starter
- 10 g salt
- 500 g all-purpose flour
Instructions
- Feed your sourdough starter 4-12 hours before beginning. Make sure it is active and bubbly as well.
- Combine flour and water with your hands and rest for 30 minutes to an hour.
- Add the sourdough starter and salt on top and start to dimple and work in with your hands. Mix the dough for 5 minutes by hand. Allow to rest for 30 minutes.
- Complete four sets of stretch and folds every 30 minutes. See notes above for exact instructions.
- When finished with 4 rounds of stretch and folds, cover with plastic wrap or a wet tea towel. Allow the dough to bulk ferment until it has doubled. The timing of this vary depending on the temperature of your kitchen, starter maturity, or even hydration. I allow mine to sit overnight or most of the day. Anywhere from 8-12 hours.
- When it is finished you should see more bubbles all over the top of the dough. The dough should also be pulling away from the sides of your bowl and not feel sticky to the touch.
- Remove the dough from the bowl and start to shape it on a lightly floured surface.
- Start by gently stretching the dough into a rough rectangle shape. Careful not to press on any of those precious bubbles.
- Fold one side over to the middle, and then the opposite side to overlap. Start at the end of the dough closest to you. Roll forward like you would roll up a cinnamon roll.
- Then pinch together the sides so that there are no seams.
- Place the dough in a floured banneton, or lined basket bowl top side down. Cover with a wet tea towel, and place in a grocery bag. Allow to cold-proof in the refrigerator for 2 or up to 24 hours. I like to have mine in the fridge overnight and bake the next day.
- Preheat oven to 435 degrees with cast iron skillet on the bottom rack.
- Once the oven is preheated, boil water in tea kettle, or on the stove.
- Transfer your dough into a greased bread pan. Score the top of the dough with a scoring razor to allow the dough to expand.
- Place the bread pan on a rack in the middle of the oven. Carefully pour the boiling water into the cast iron skillet. Watch out the steam is very hot!
- Bake at 435 for 5 minutes, then rescore your mark to allow for more expansion. Bake for an extra 15 minutes.
- Remove the cast iron skillet with water, and bake the bread at 450 for the remaining 20 minutes.
- Remove from the oven and pan. Then allow bread to cool fully before slicing.

Leave a comment