Preserve those fresh herbs growing in your garden now for those long winter months ahead.
We set out to start a small herb garden this year. All our seeds were started in milk jugs, and we had great success. You can read about our experience with that here. We have since transplanted them into this nice herb garden box. The drainage hole on the side was helpful after all the rain we recently had.
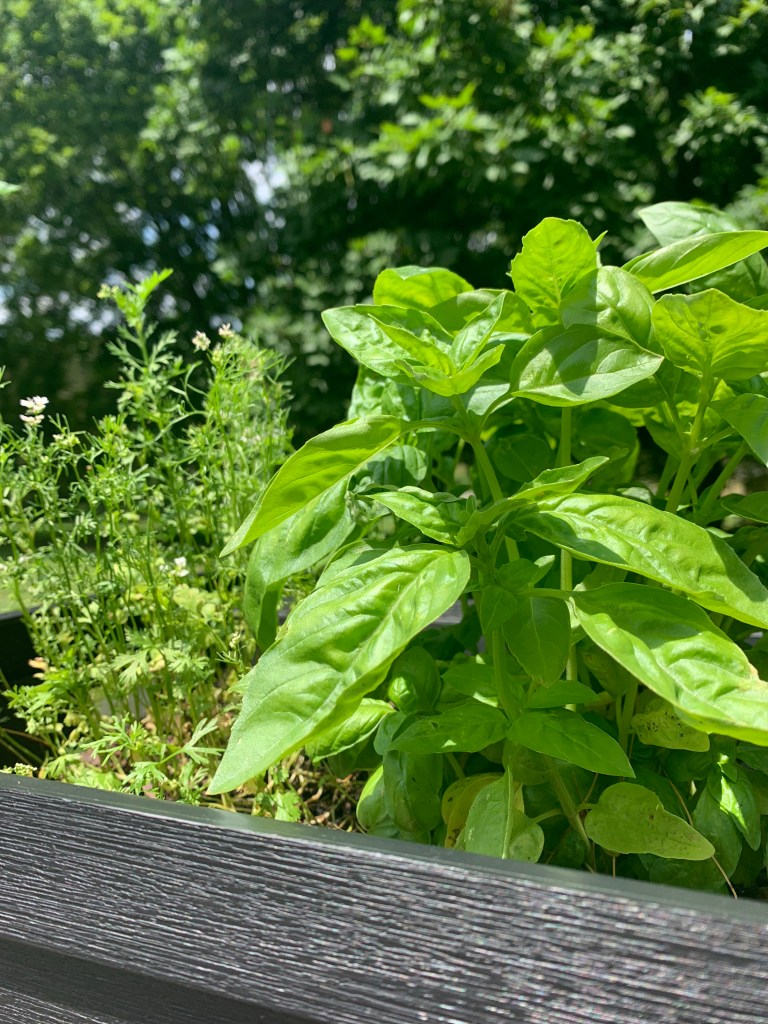
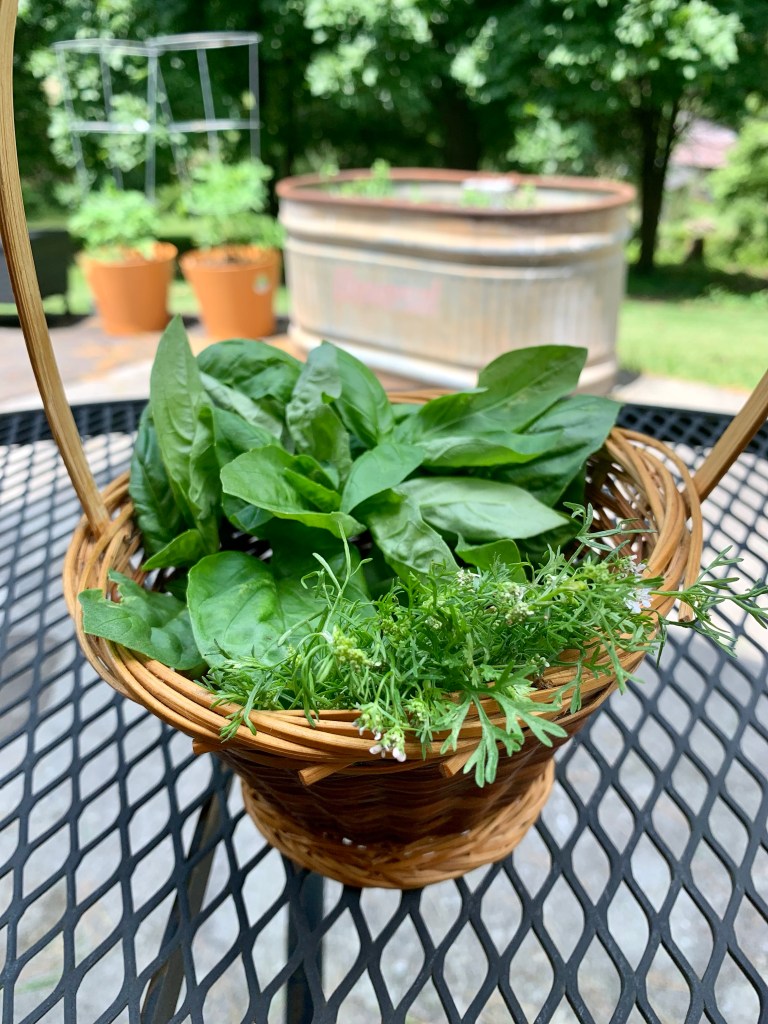
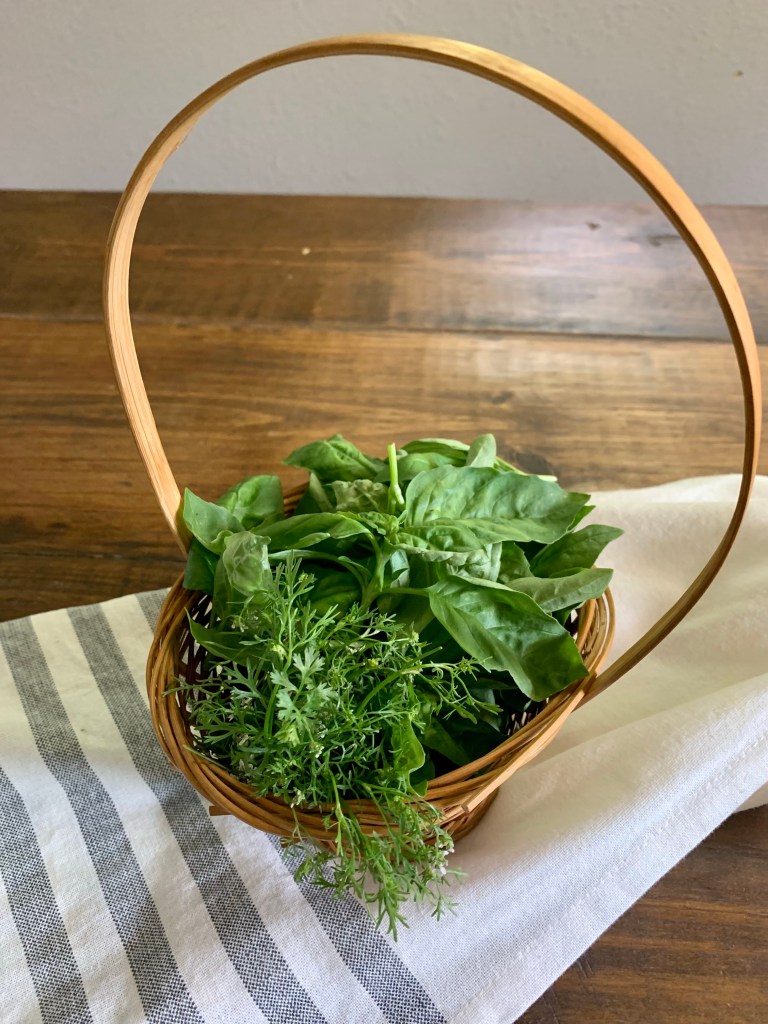
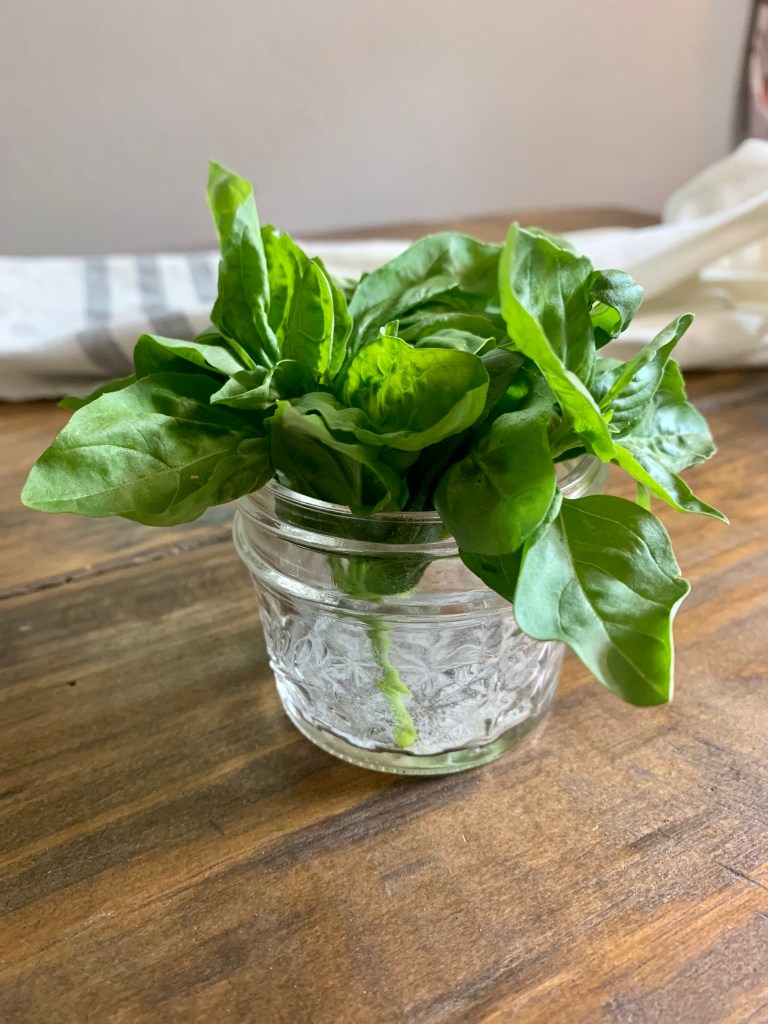
Now that my herbs were thriving and really producing, it was time to start saving some for this fall and winter. I had read many approaches to drying out herbs, but with limited space I needed something that would be quick and easy on time.
An oven and microwave are the only appliances you need with these two approaches to herb drying, no extra tools are necessary. In just a couple of steps we had dried herbs ready to be stored and used for another day. I could not believe how simple it was, anyone can do this.
Benefits of Drying Herbs
Herbs are great to use fresh out of the garden. There are so many benefits to using them, especially when you know exactly how they were grown and cared for. That being said, there are benefits to drying your own. Here’s a list of some at home herb drying advantages:
- Herbs at the store can be quite expensive. So drying them at home could be easier on the wallet.
- Too often, after purchasing a fresh bunch at the store, only a pinch is used and rest will go bad.
- While a few herbs are more flavorful when fresh, some pack a more powerful flavor punch when dried.
Herb Tips
Knowing when to use fresh vs. dried herbs can help the flavor component of your meals. Fresh herbs are always better added to the end of a meal, while dried herbs can be added in the beginning. This allow the dried herb flavors to be better developed.
The general rule for swapping fresh and dried herbs is using 1/3 of the amount required. So if a recipe calls for 3 tablespoons of fresh herbs, only 1 tablespoon should be used for dry. The same is true for the opposite. Swap 1 tablespoon of dried herbs for 3 tablespoons of fresh herbs.
Tools
To make dried herbs you only need these few things:
oven
microwave
paper towels
sheet pan
How to Dry Herbs in the Microwave
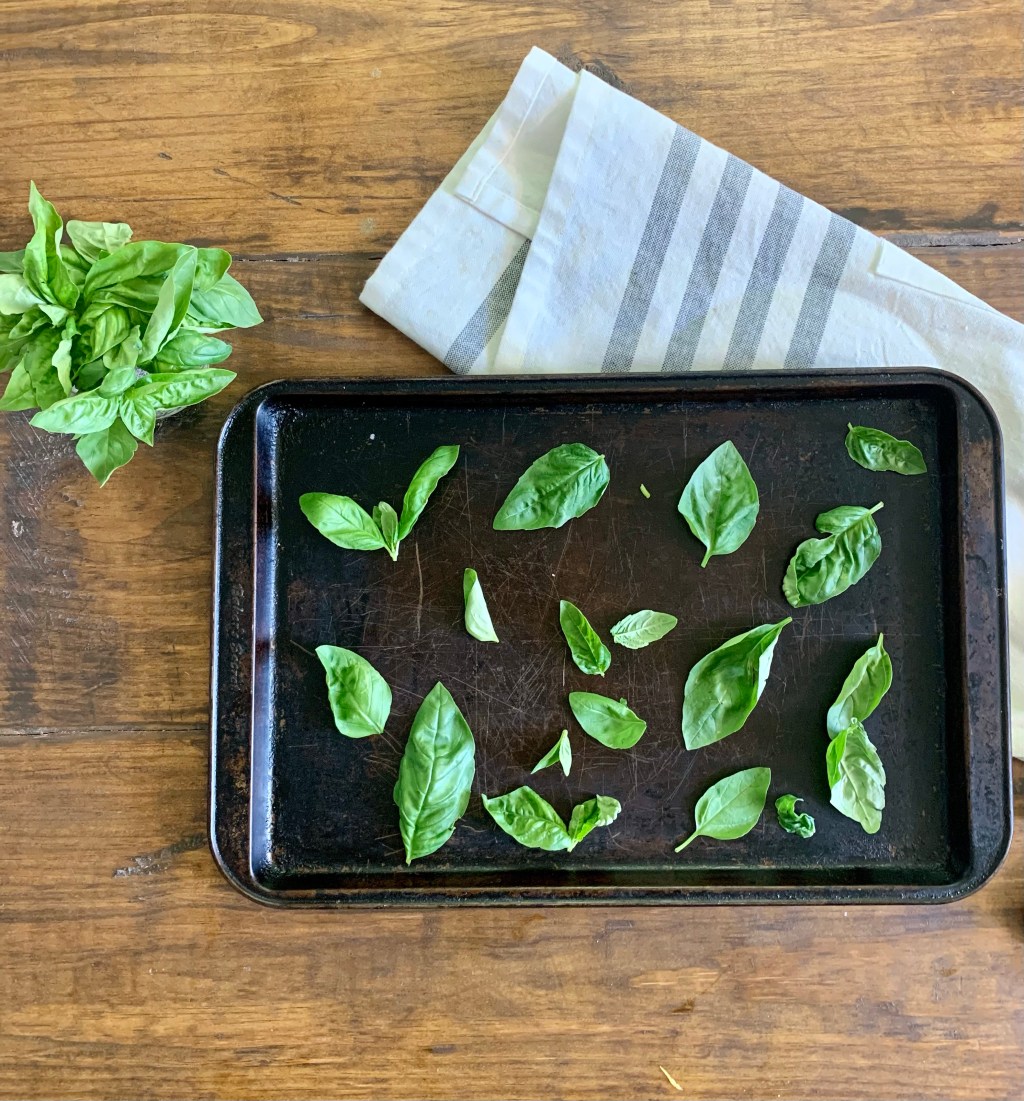
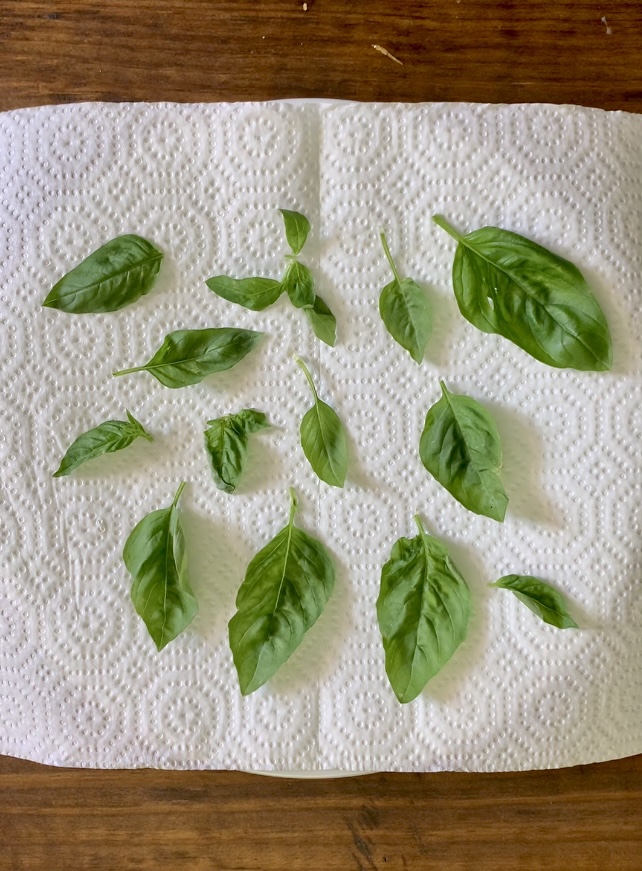
While my pictures are with basil, this process could work with any herb you have harvested. Before beginning make sure to clean off all unwanted pests or dirt. The herbs should also be dry before starting the drying process.
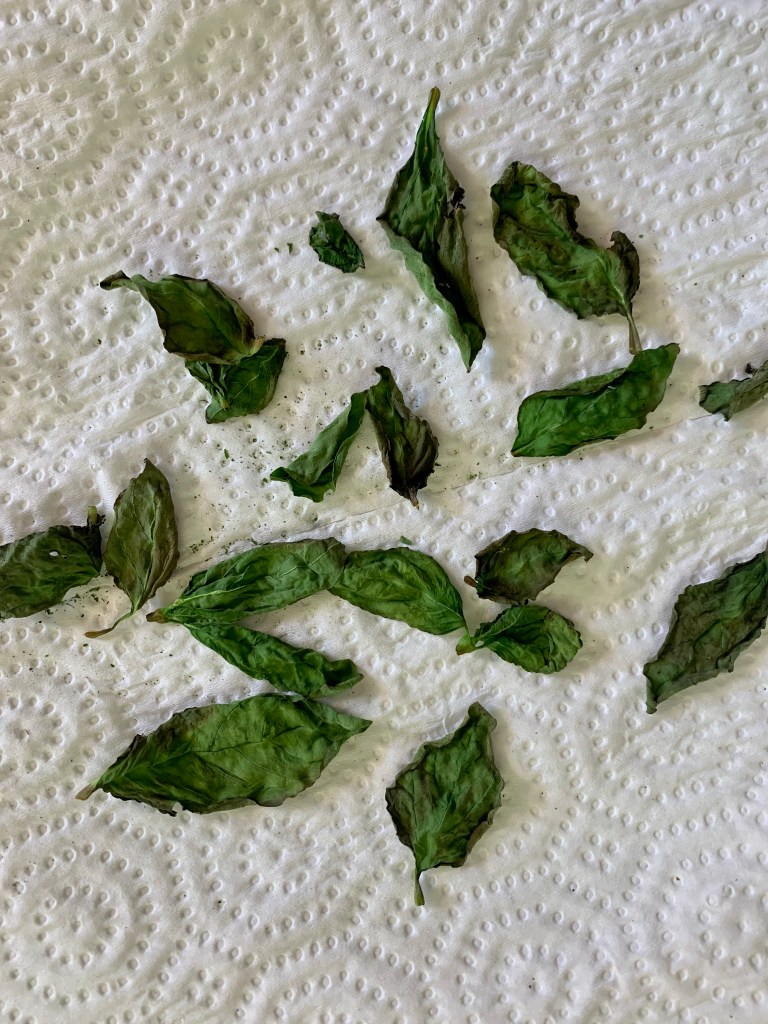
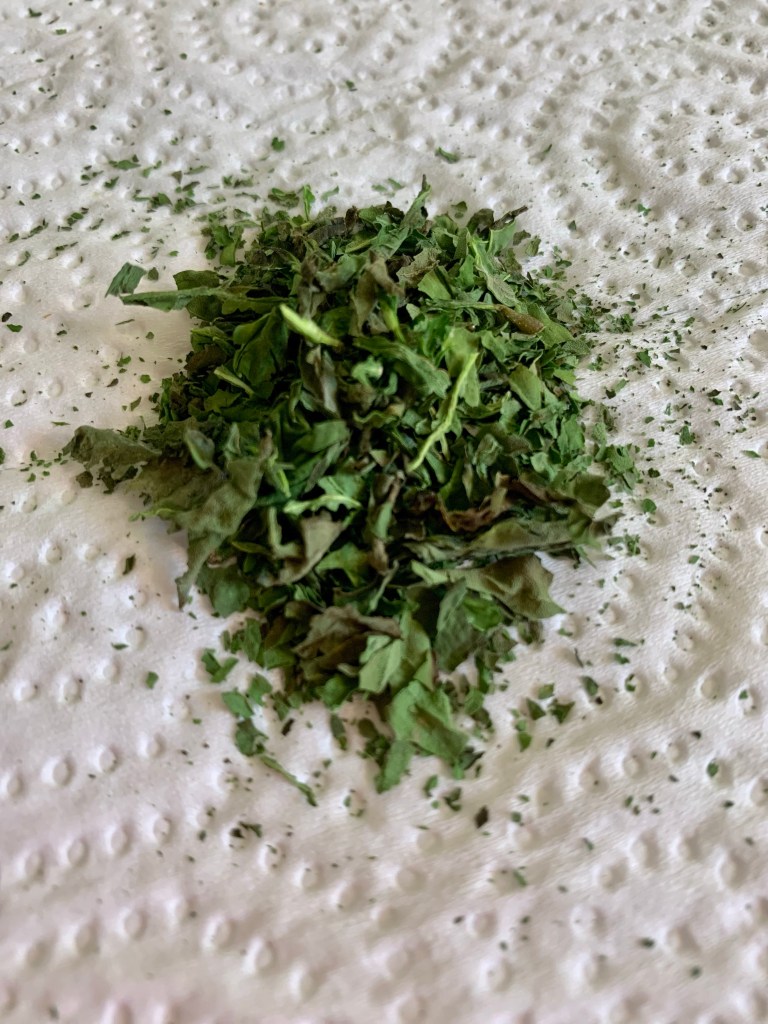
Spread a few pieces of your herbs out on a paper towel. Microwave for about 30 seconds at a time, until the herbs are dried. You will know they have finished drying when they are brittle and make a crunching sounds when crushed.
How to Dry Herbs in the Oven
To dry in the oven takes a little more time. Spread out the herbs on a sheet pan. Leaving room so they have room for air to circulate around them. Set the oven temperature to 175 and place the pan in the oven, leaving the door slightly open. This will keep them from cooking the herbs. The whole process should take roughly 2 hours.

Storage
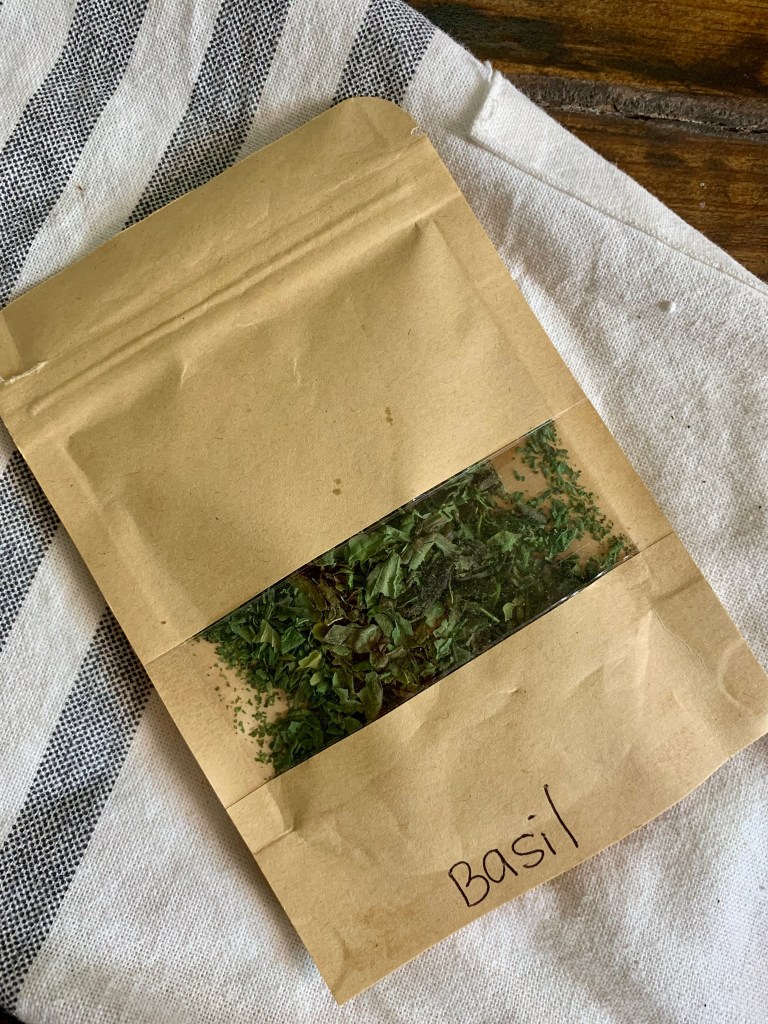
Herbs should be stored in a glass jar or air-tight container, away from direct sunlight. Paper containers, like these, also work well when sealed. If stored properly, the herbs will last up to one year.
For more herb garden tips and designs check out The Herb Gardening Handbook on container herb gardening and more. It has been a great read and wonderful addition to my gardening book collection.
I’d love for you to follow along as we continue to harvest and work our small flower and herb gardens this year. You can find me @overeayhomestead on any of these social platforms.
You might also be interested in these other posts.

Leave a comment